Easy DIY Entryway
/When we moved into our house nearly five years ago, we placed a coat tree near our front door and it stood there for the next four years. In the winter, coats, hats, bags, and gloves would sometimes get hung on the hooks, but mostly they’d just get thrown on top of the thing, resembling a comical clothing topiary of sorts. It drove me bananas. Also, I should probably mention that we DO have a coat closet in our front hall, but everyone (including me) is too lazy to actually hang coats in there. I mean, first you have to open the door, then find a hanger, then put the coat on the hanger, then stuff it in between all the other coats, then close the door. Obviously that’s way too much work.
So, I searched for some inspiration on Instagram and found a DIY entryway with wainscoting and hooks that I loved. Then, last summer, I decided to try to convince my husband, Matt, that we NEEDED this entryway in our lives. Thankfully, he agreed. So, off we went to the hardware store for supplies.
Here’s what we bought:
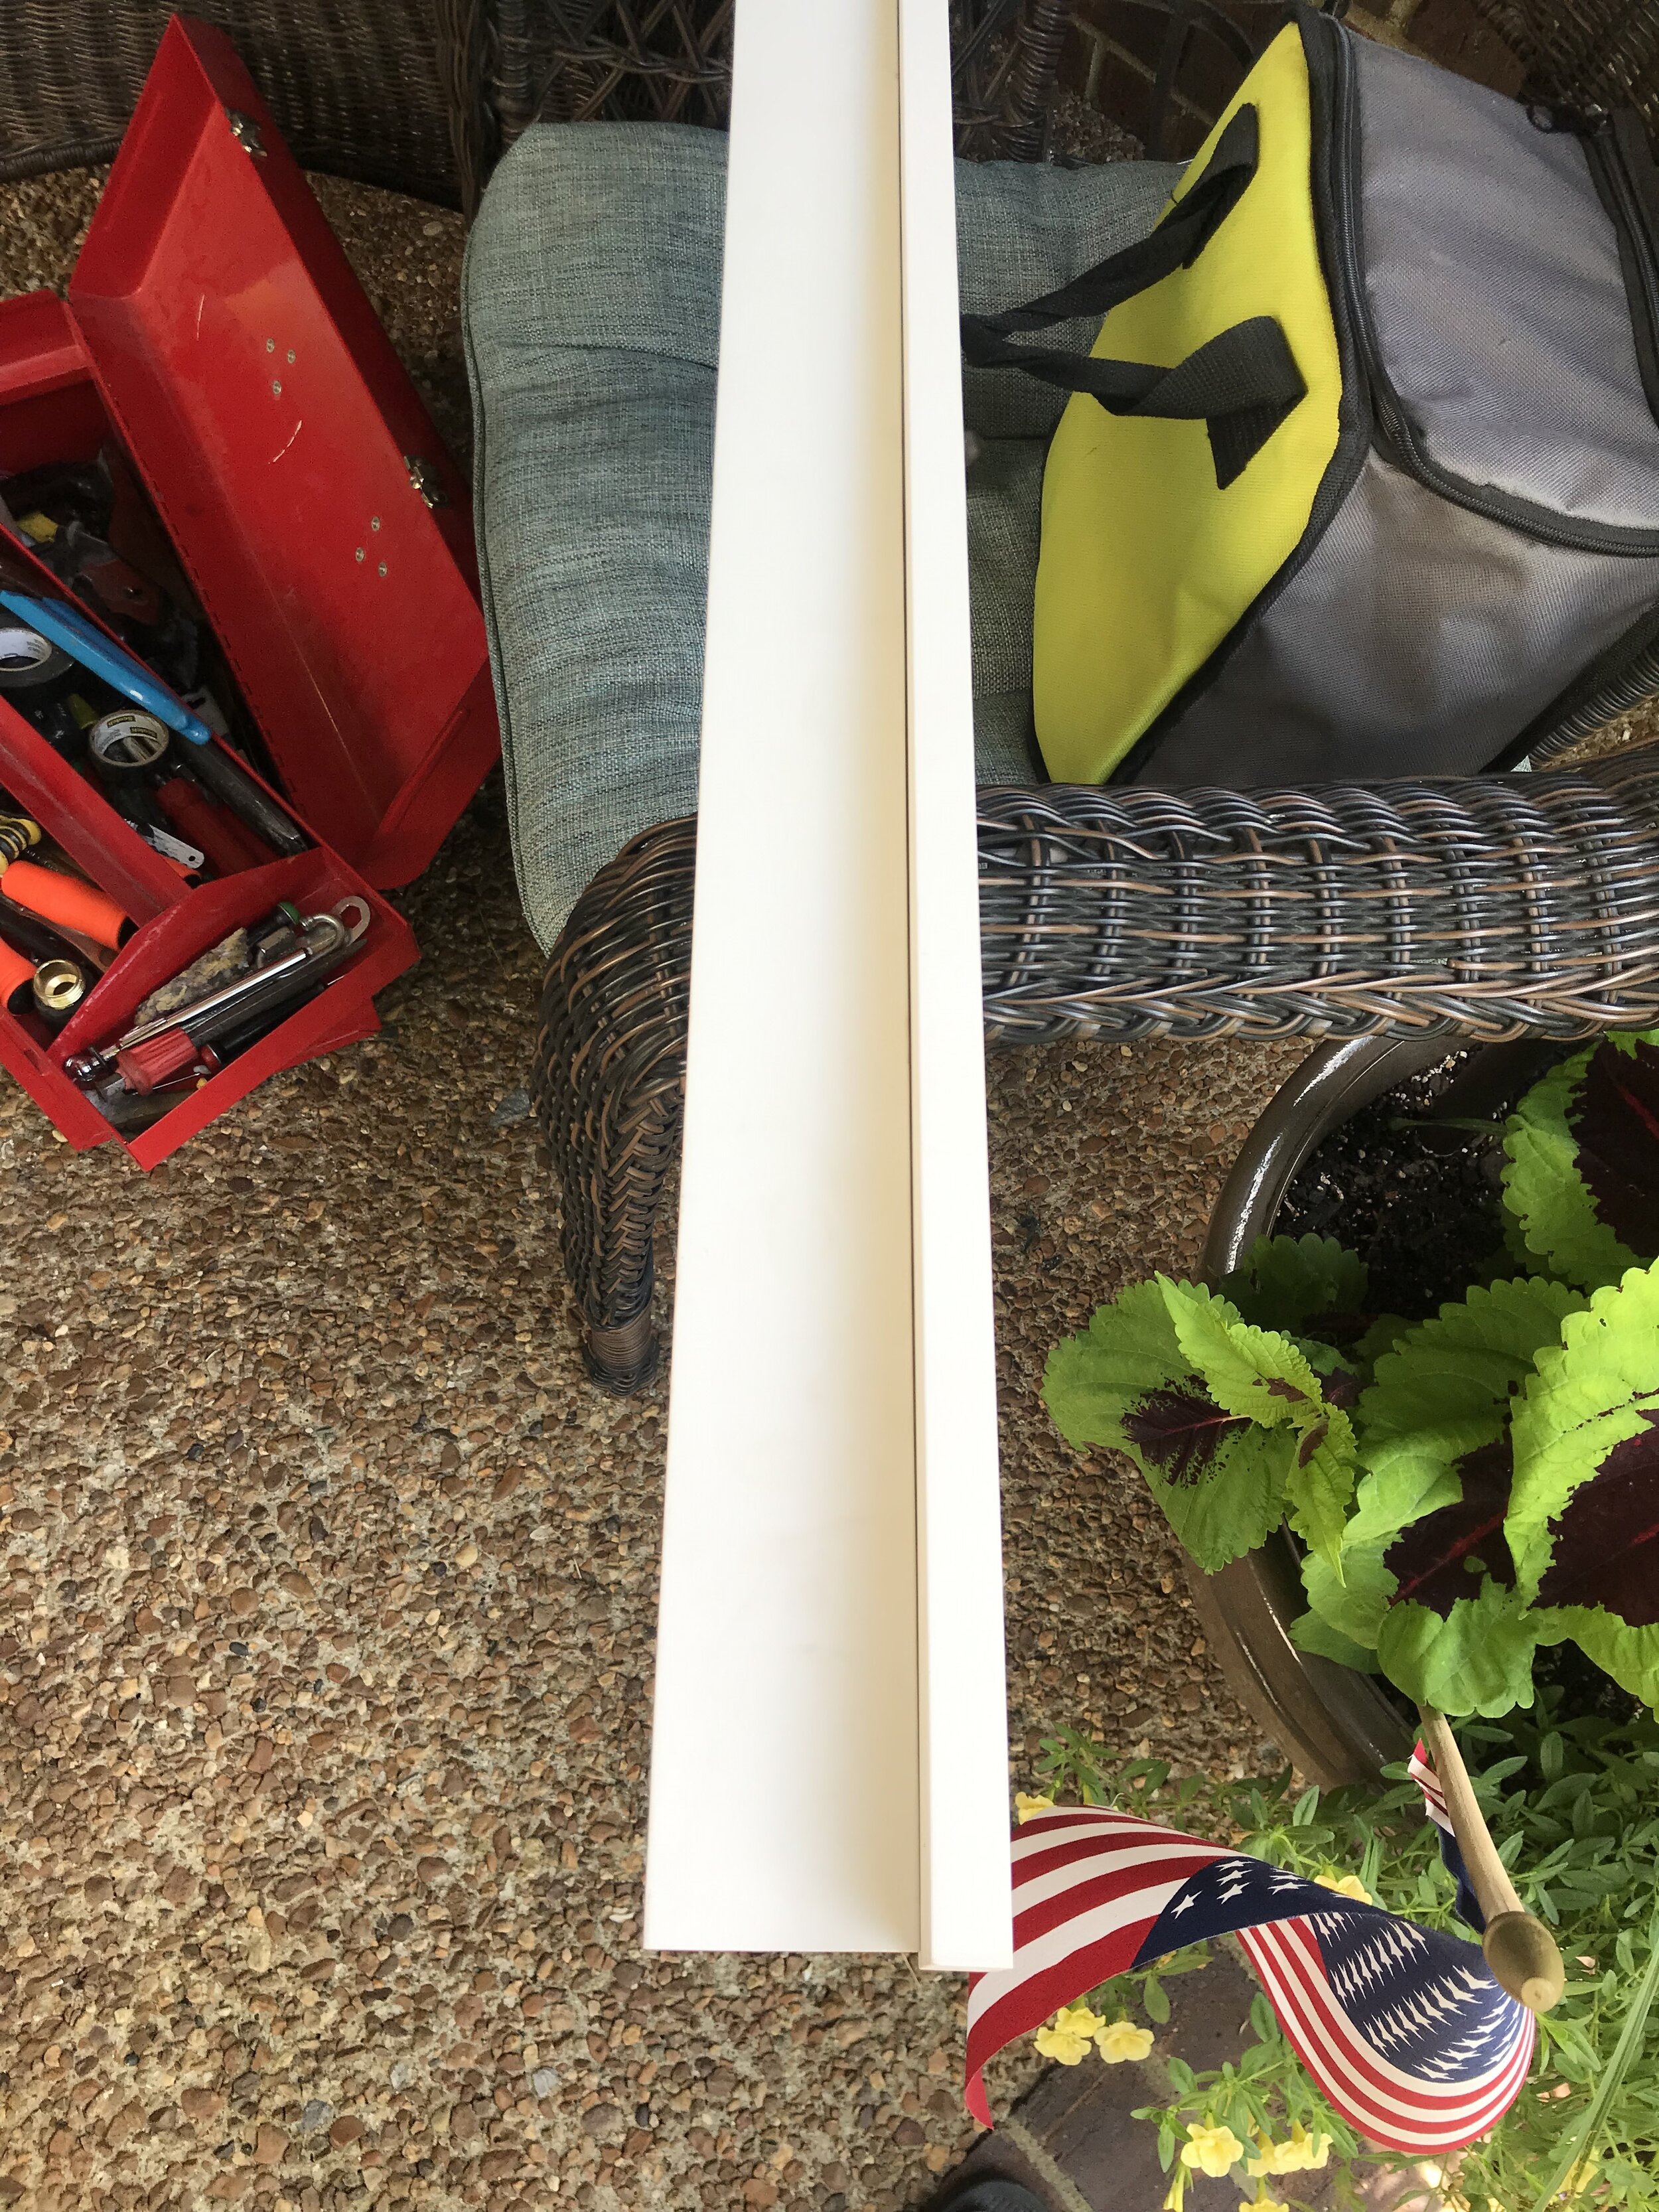
2 Lattice strips, cut to 54” each
1 piece of 2 3/4” x 3/4” wood
1 piece of 1 1/2” x 3/4” wood
Liquid Nails (or something similar)
Wood screws (we already had)
Wood filler (we already had)
caulk (we already had)
Paint (we already had)
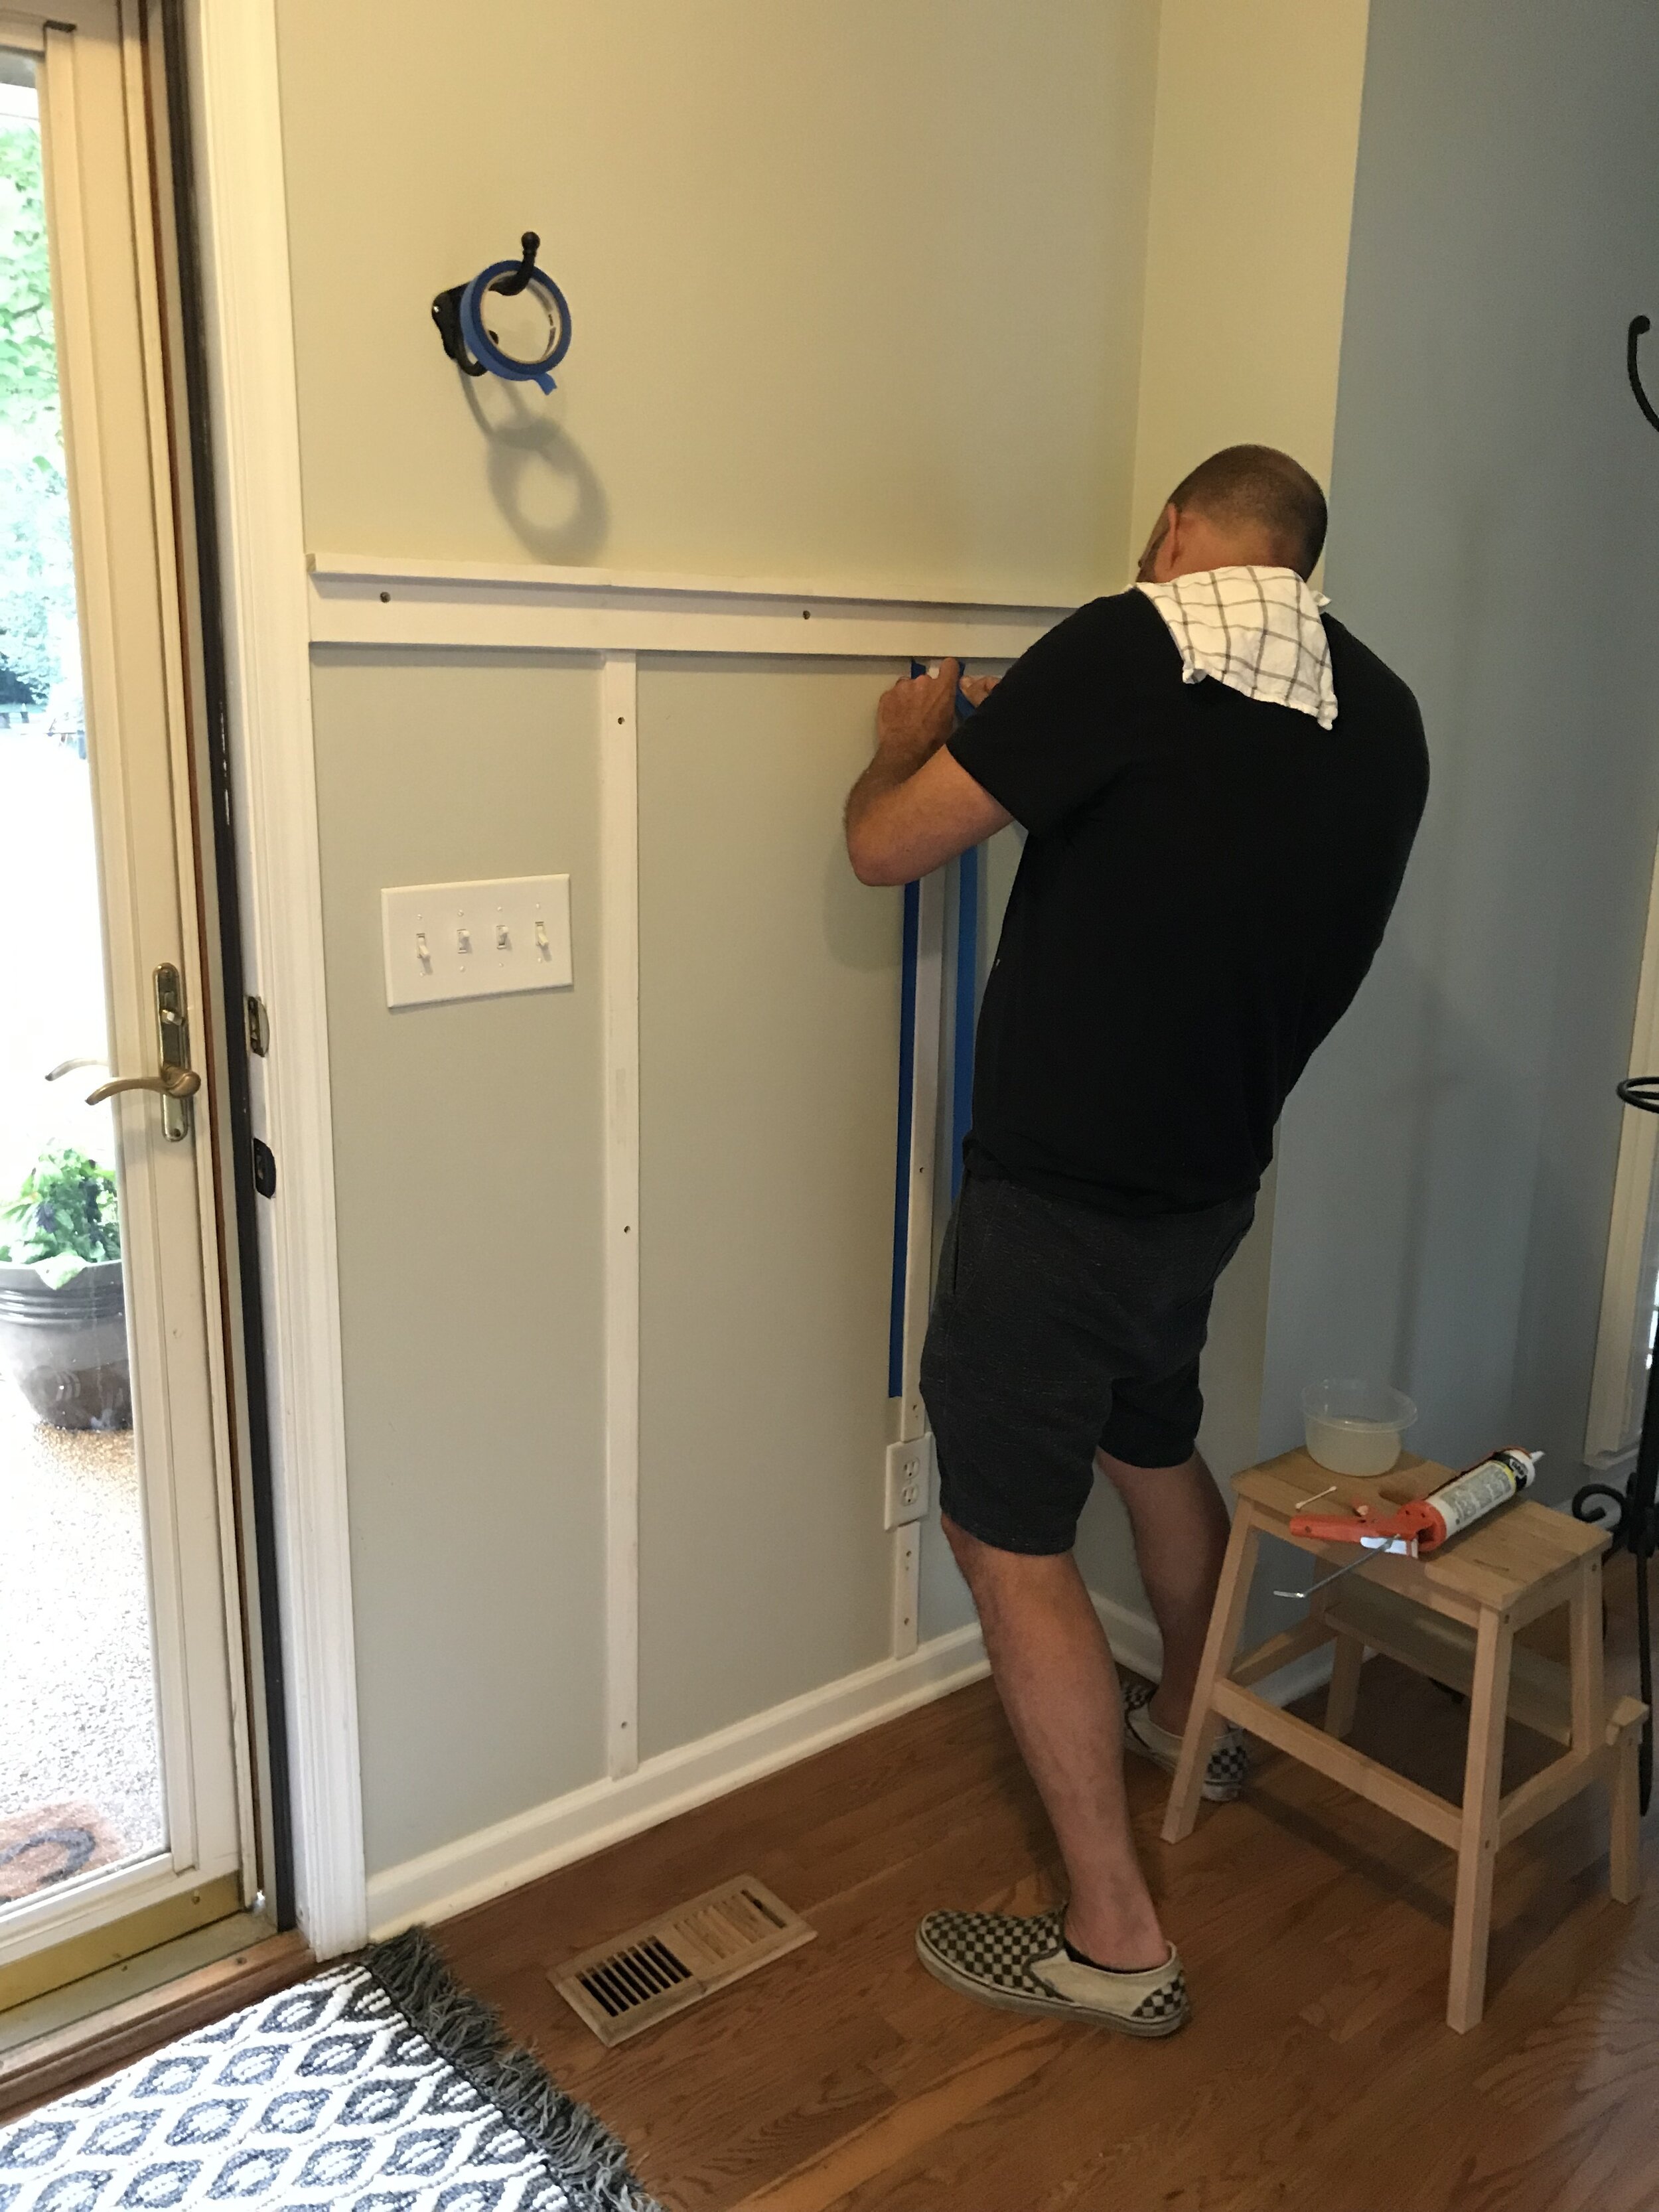
First, Matt started by making the top piece of the wainscoting. We decided that it would sit about 5 feet off the ground so that my youngest son could still sort of reach the hooks once they were placed on the wall. He cut a section of the 2 3/4 x 3/4 inch wood and placed it flat against the wall. Then, he placed the 1 1/2 x 3/4 inch piece of wood on top of it, creating a little ledge. Then, he drilled screws into the top piece of wood down through the larger piece of wood to create the shelf. He then screwed the entire piece into the wall in three places to create the top of the wainscoting. (I should probably note that he did countersink the holes so that we could fill them with wood filler and paint over them.)
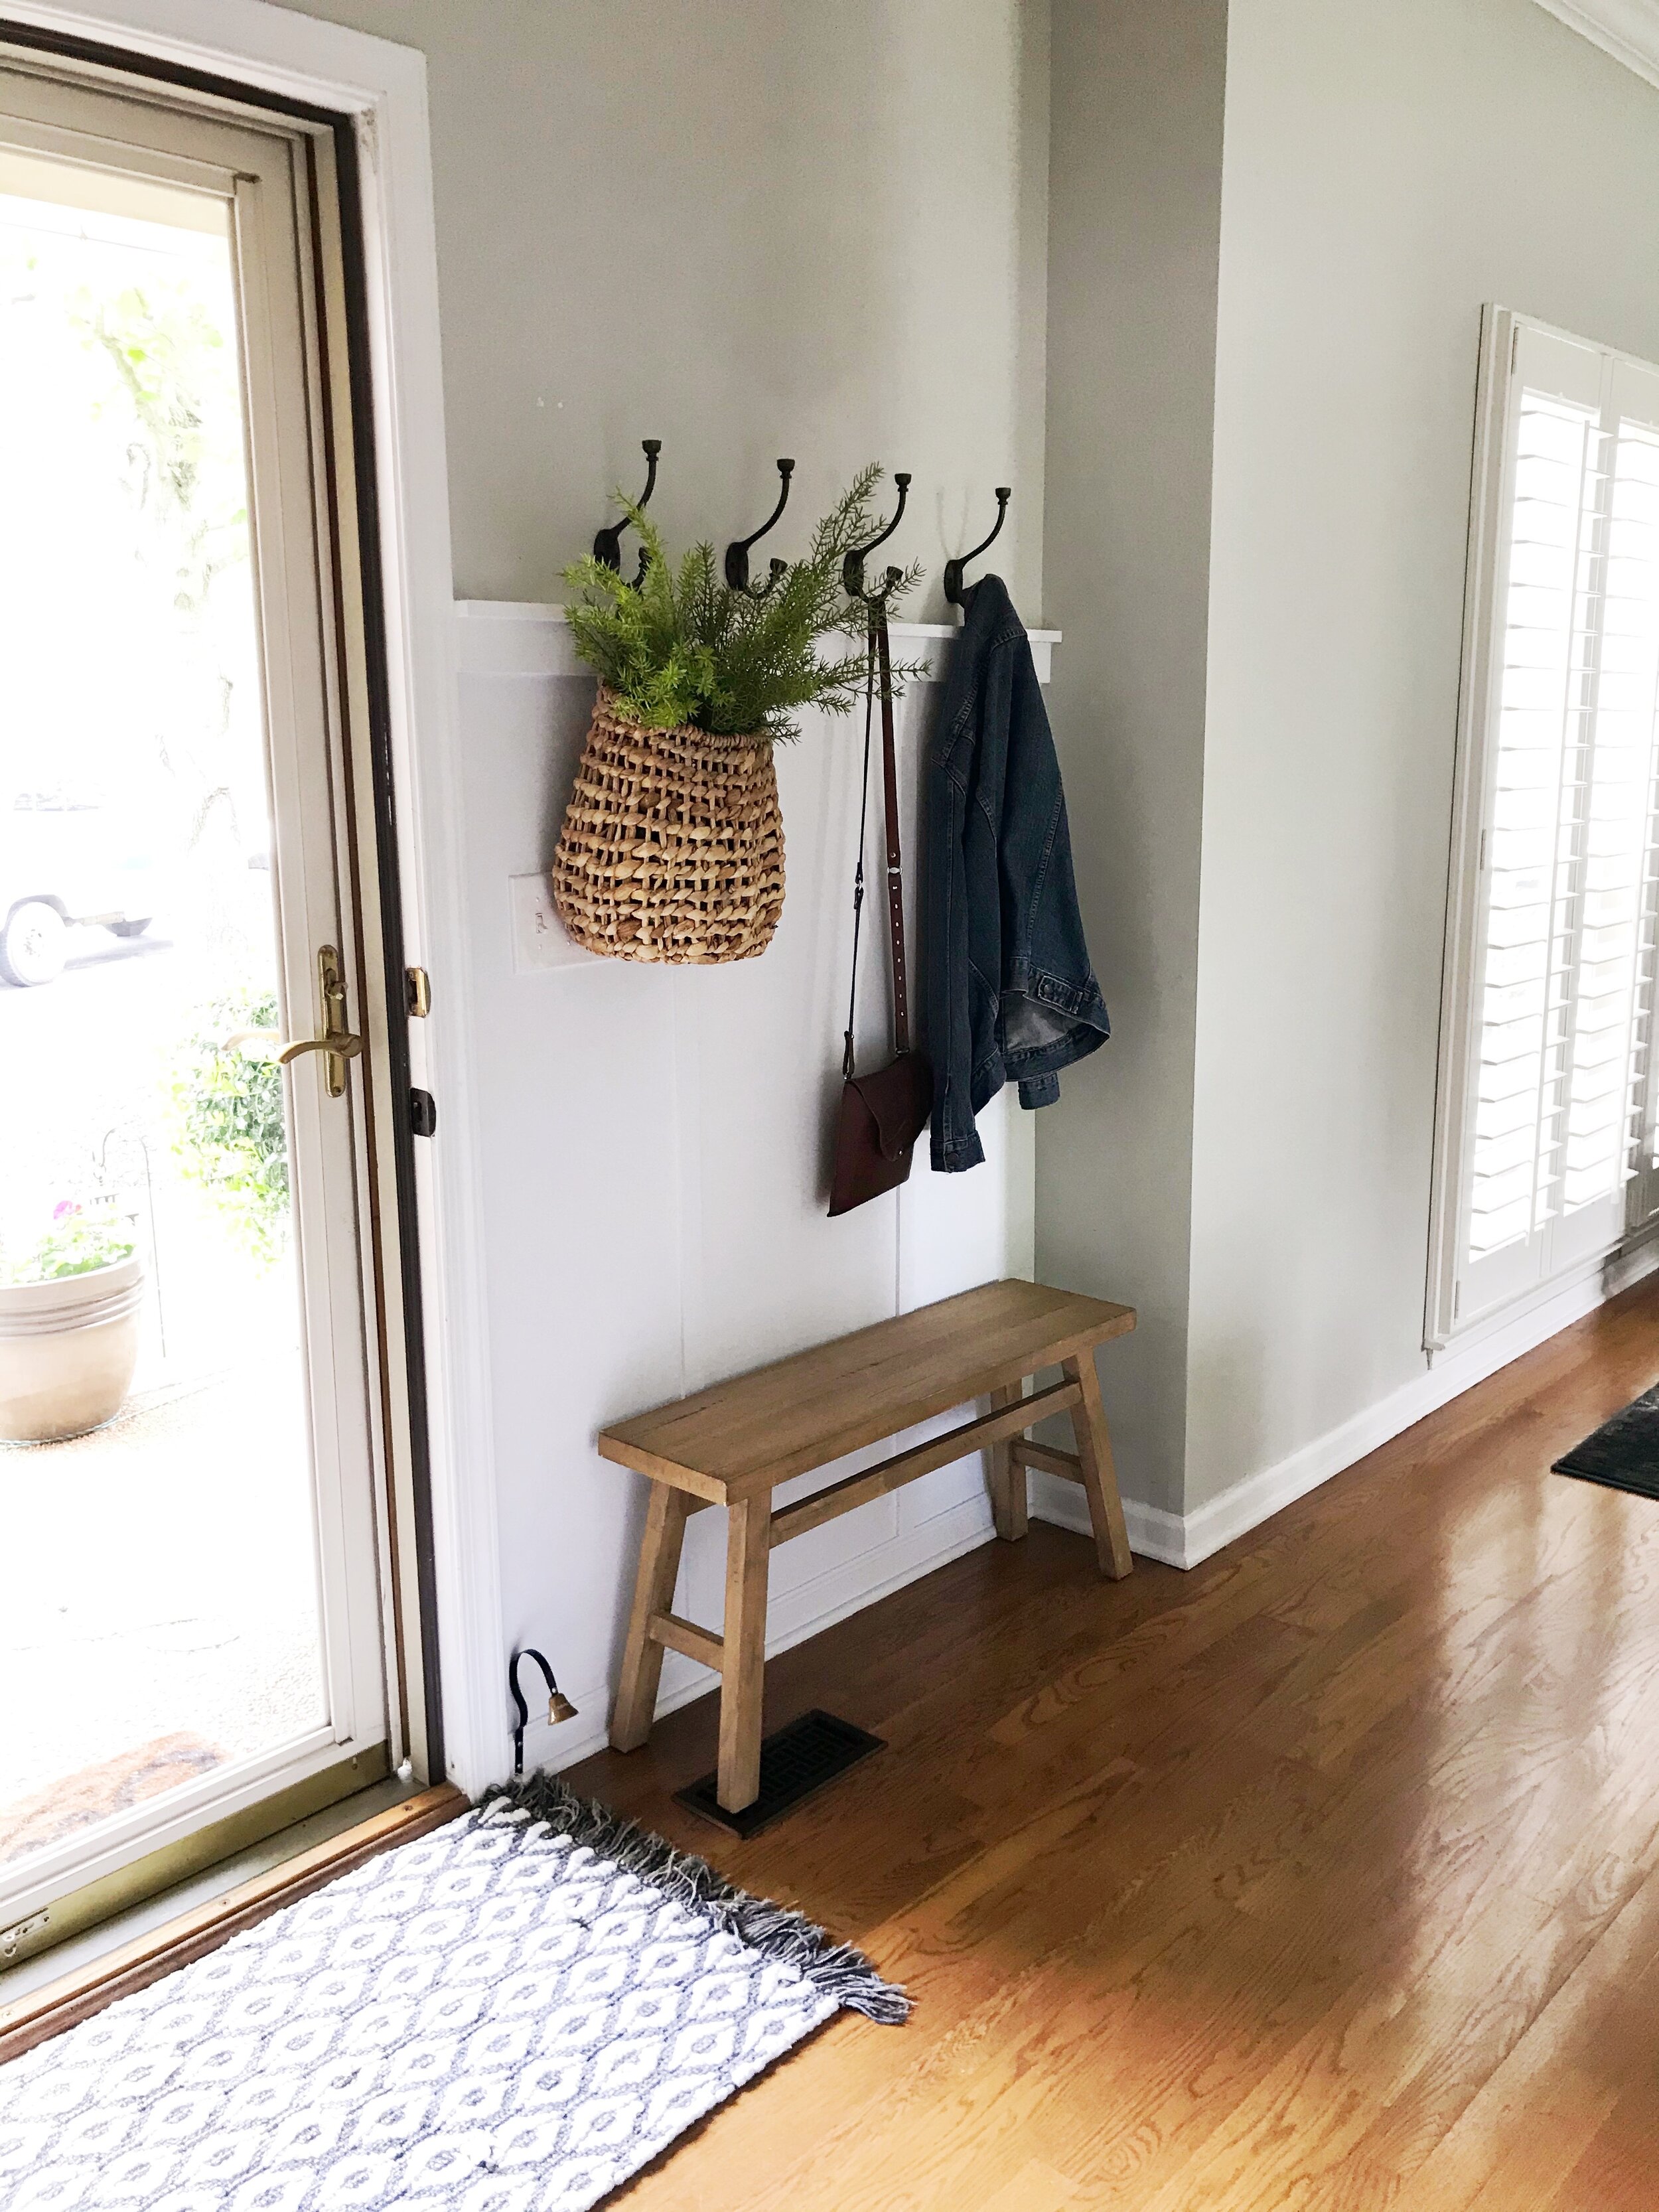
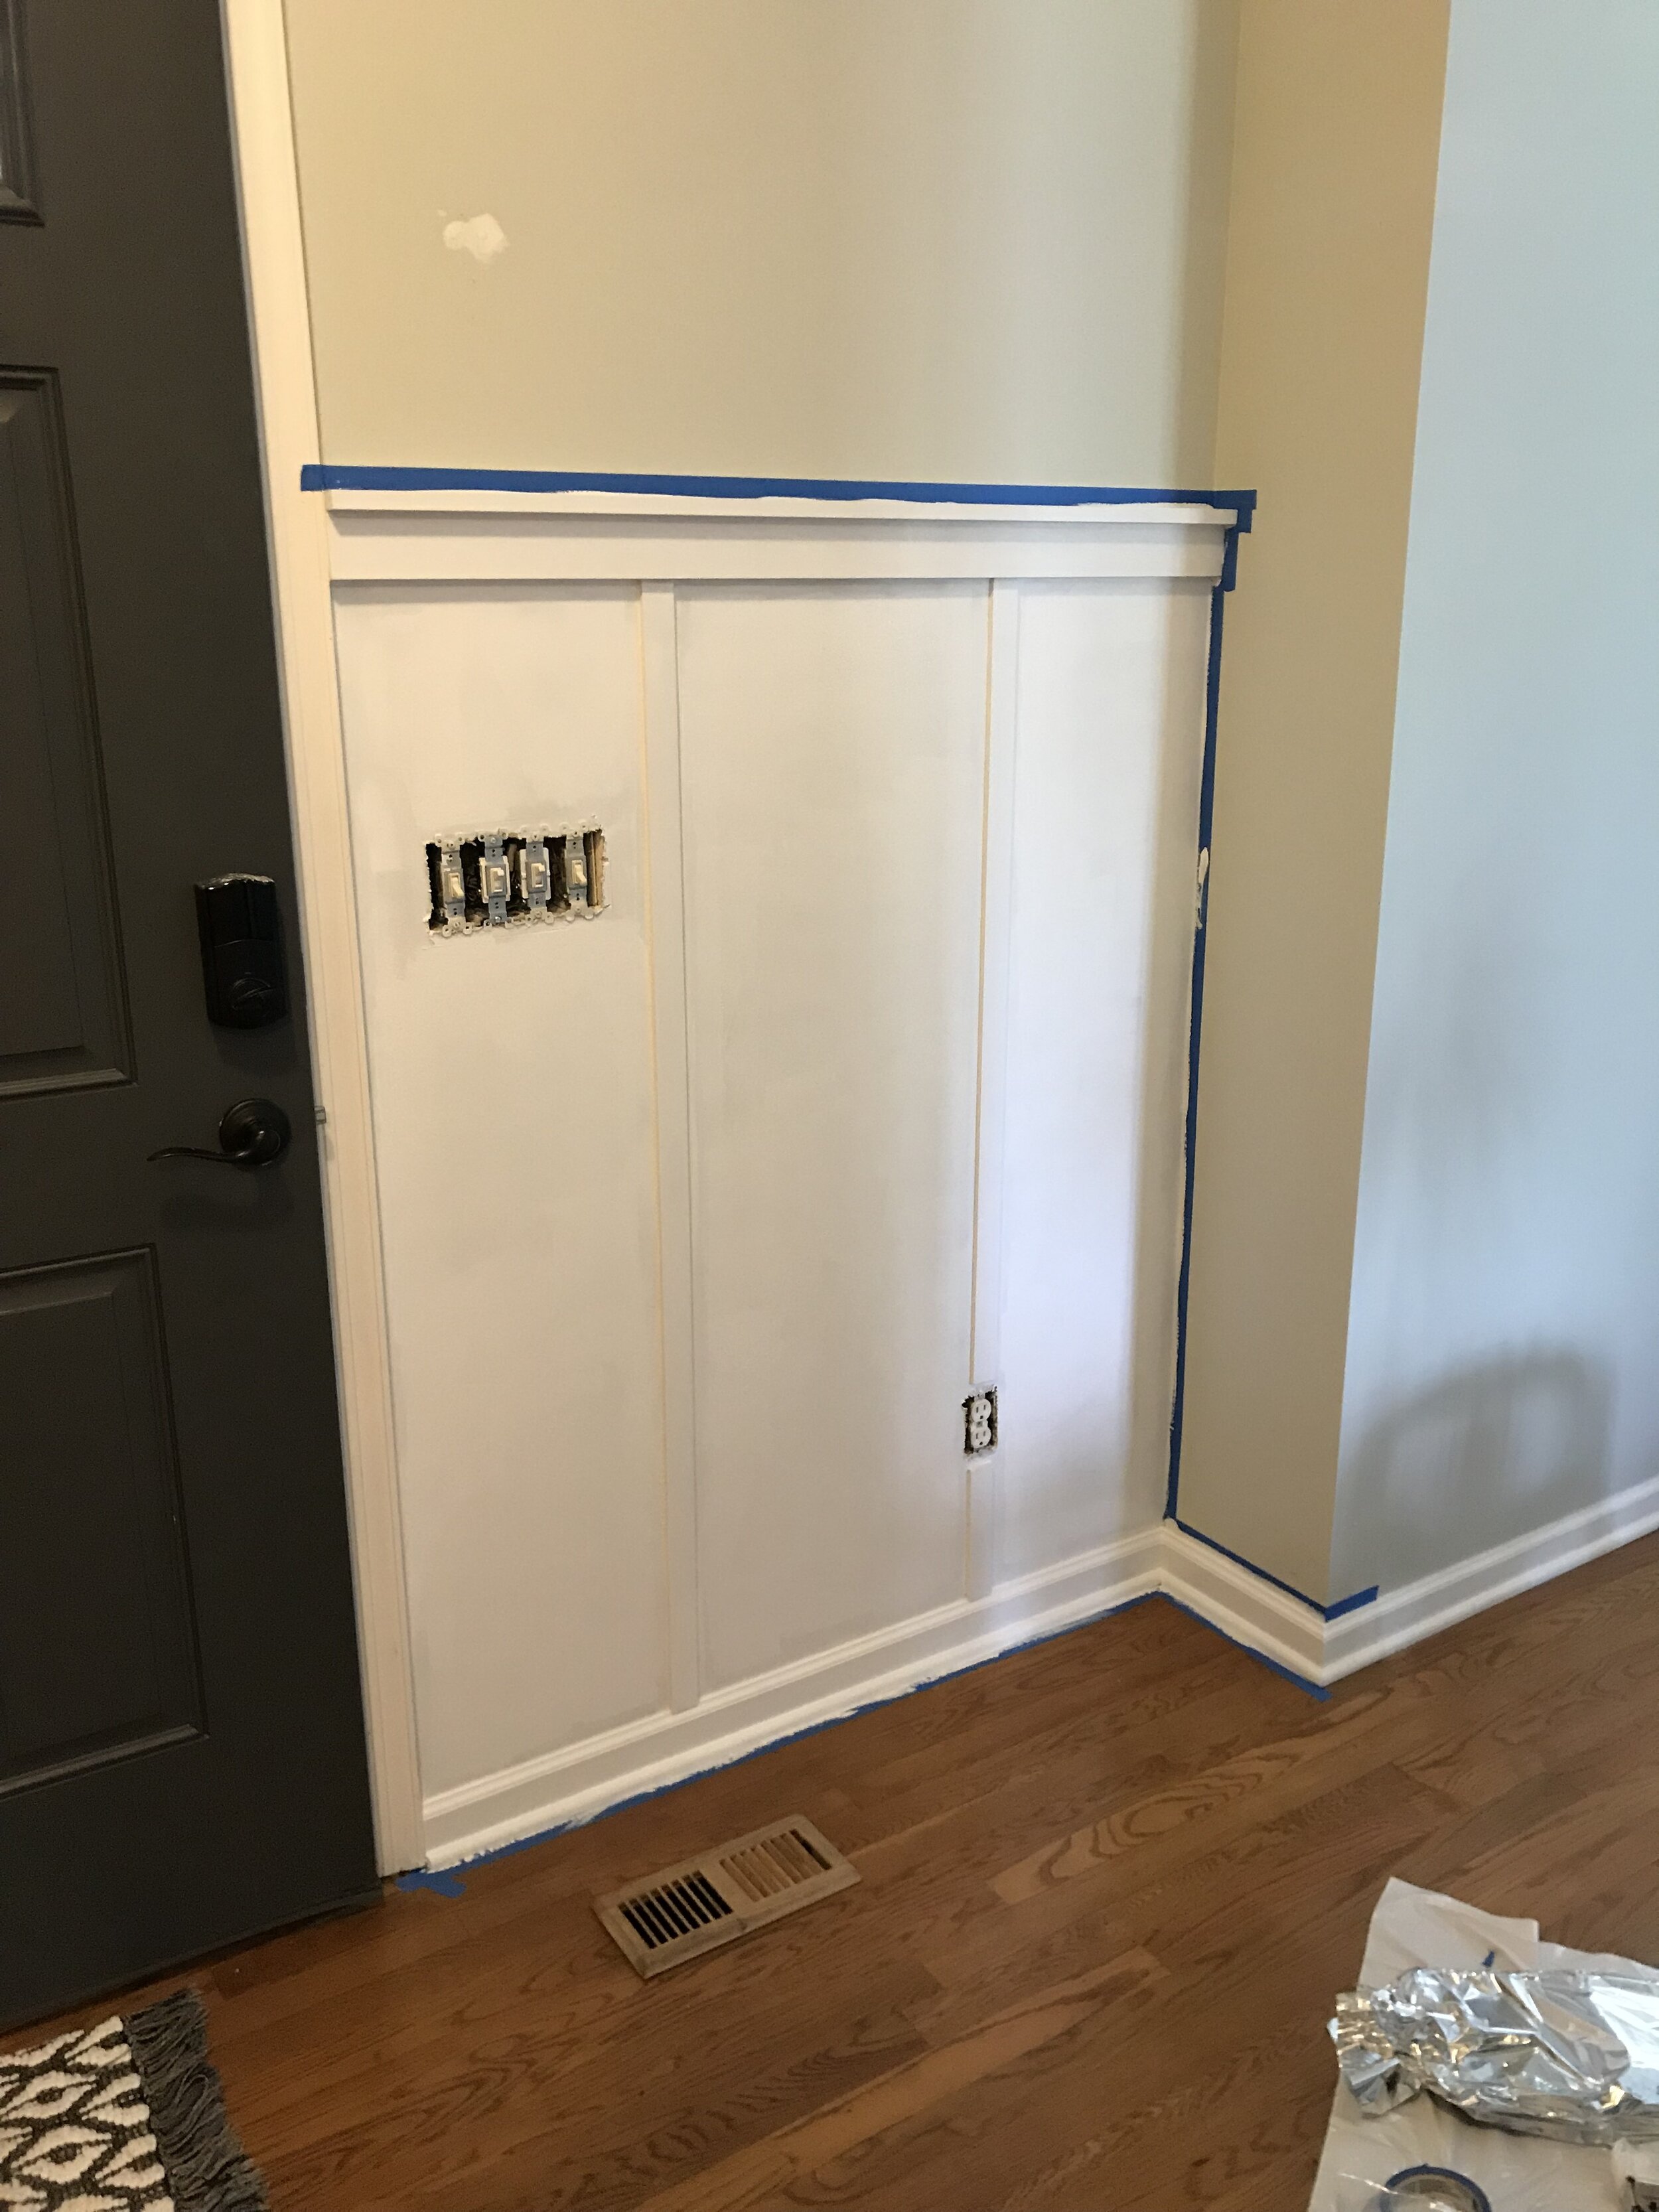
Once that top ledge was in place, it was time to move on to the lattice strips. Some people prefer to use wood here instead, and we did buy wood initially, but I felt it stuck out too far and didn’t look right because we had an electrical outlet to work around. So we opted for the lattice instead. Next we had to decide how to space our lattice on the wall. For me that was easy because I wanted the lattice to run exactly center on top of and beneath the outlet instead of off center. So that told us how far out from the right side of the wall the first piece of lattice would need to go. Then we simply copied that measurement from the left side of the wall (or front door frame). To work around the outlet, we simply cut out the length of the outlet from the lattice and put the shorter piece beneath it and the longer piece above it. We used Liquid Nails and wood screws to hold the lattice in place.
Once the wainscoting was finished, we caulked all of our seams and then it was time to paint. I taped off my walls and put two coats of Benjamin Moore Super White on the top ledge, walls, and lattice.
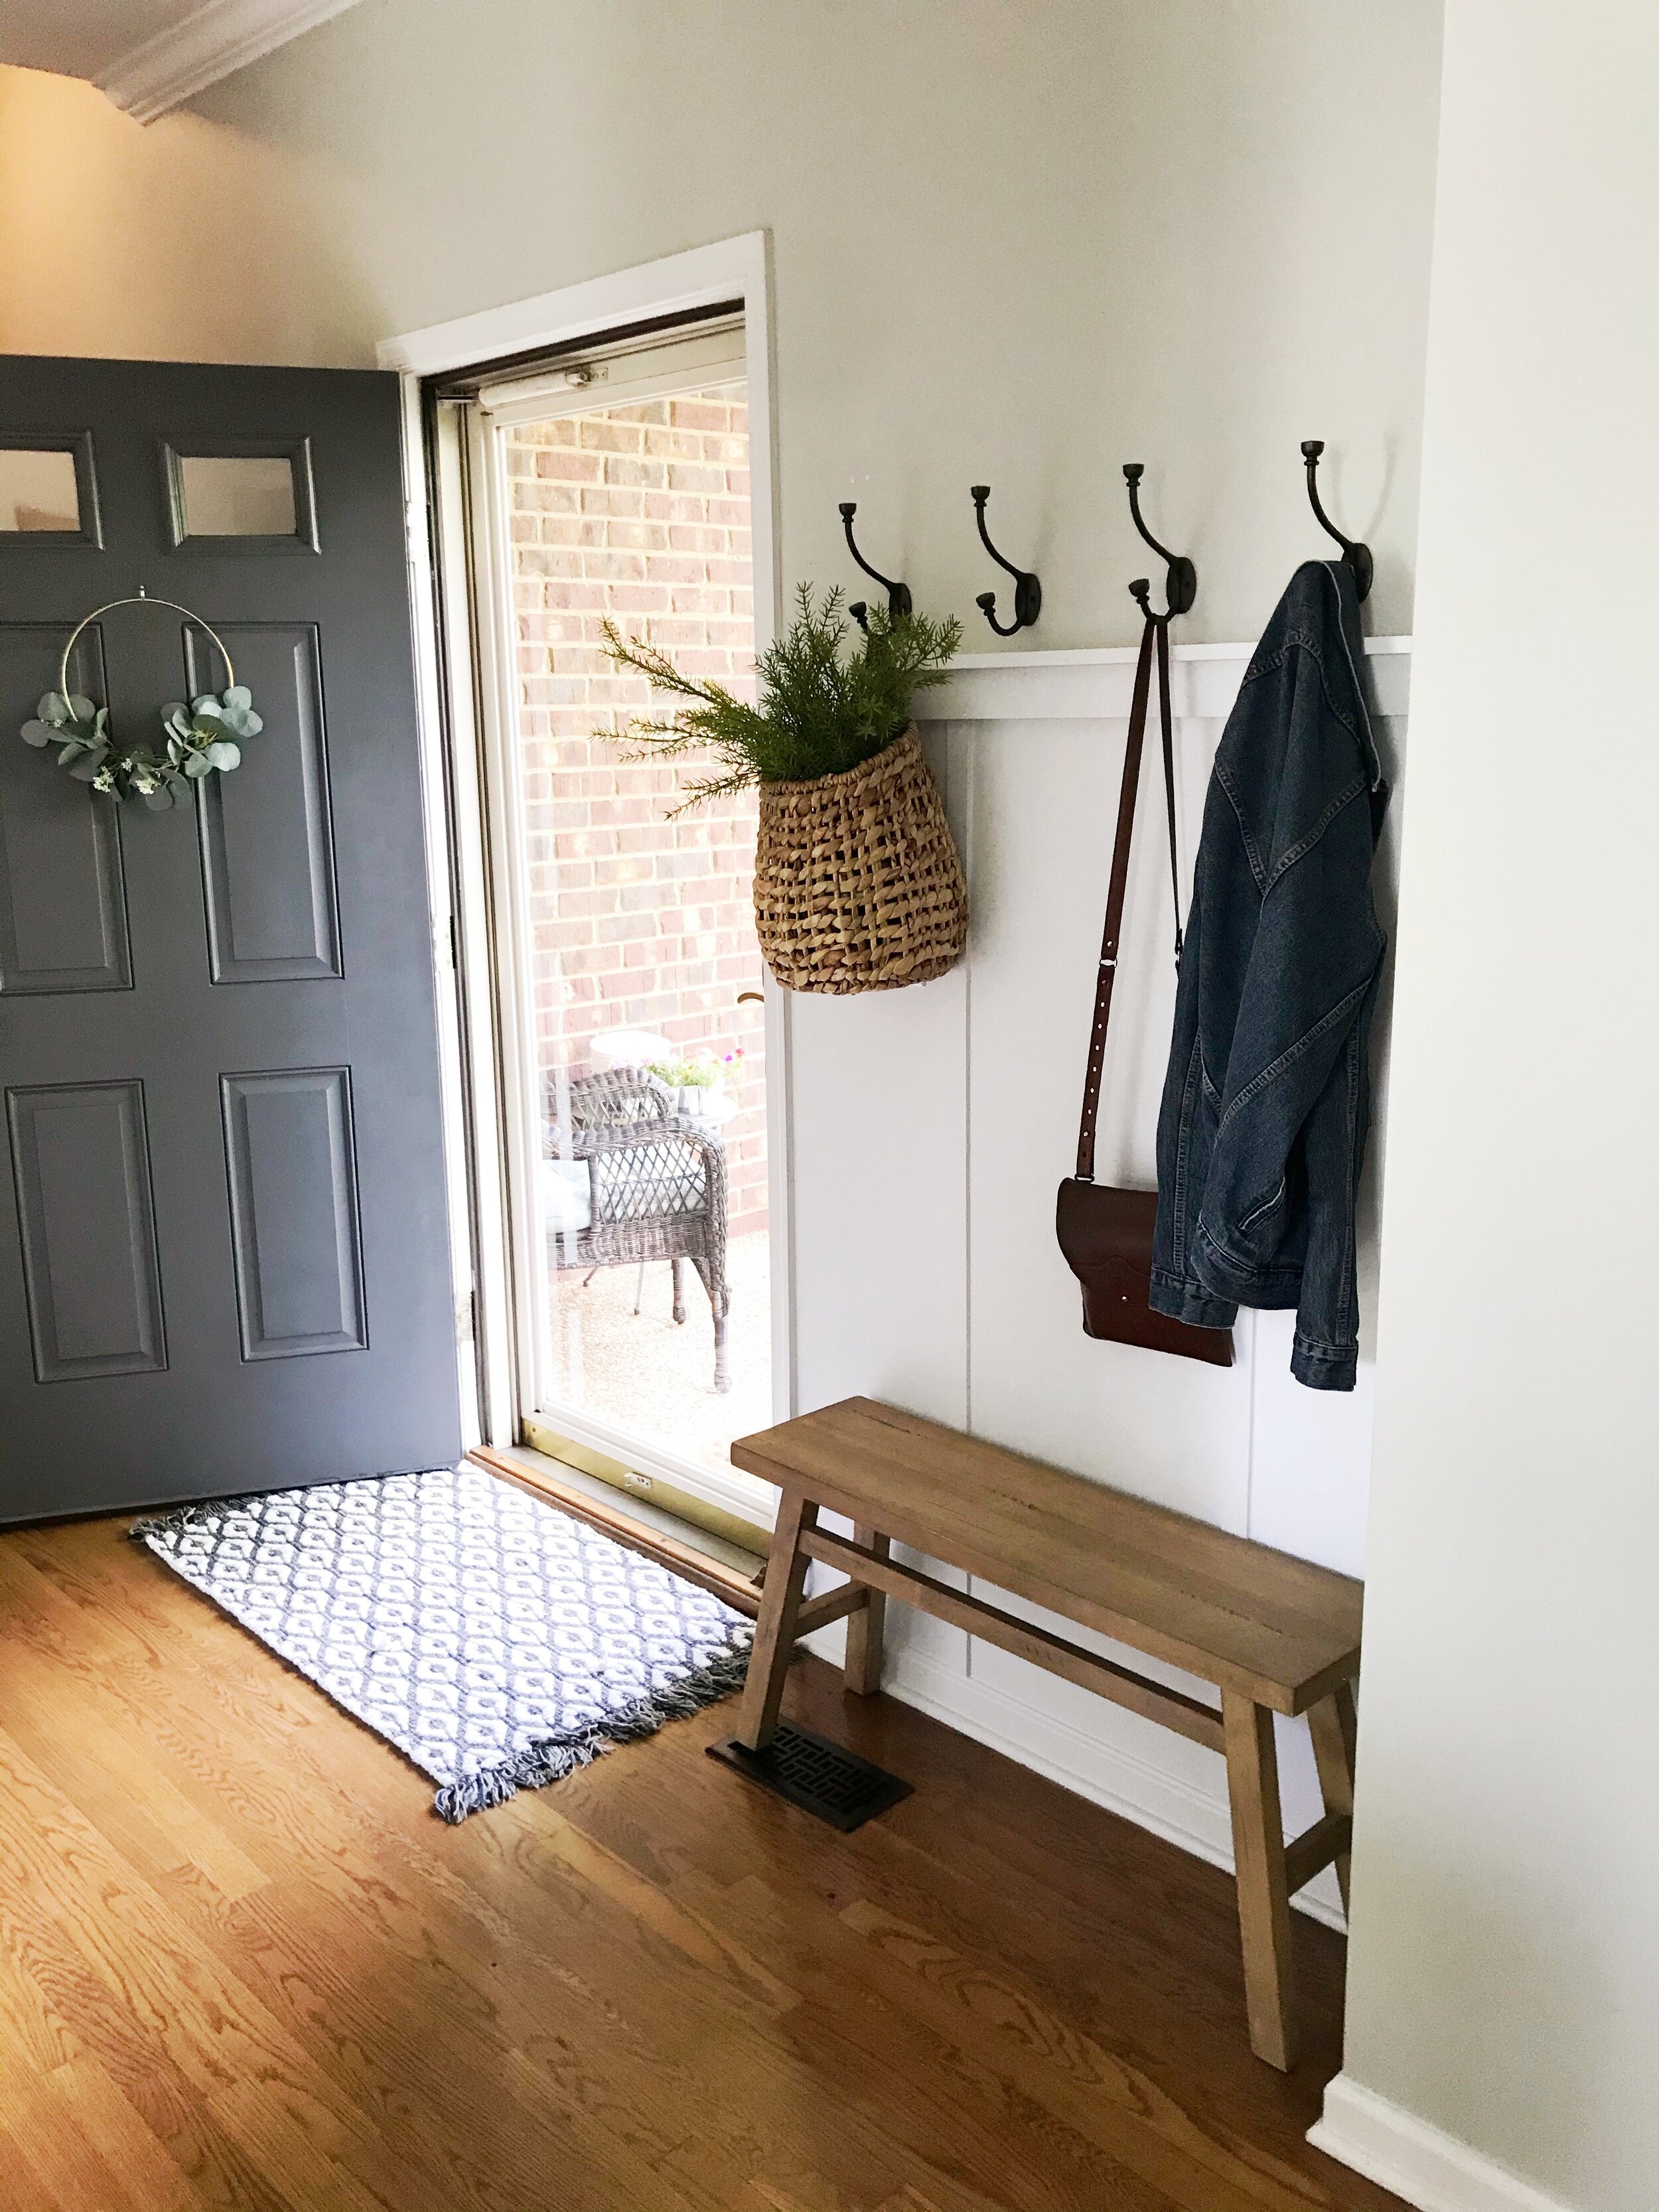
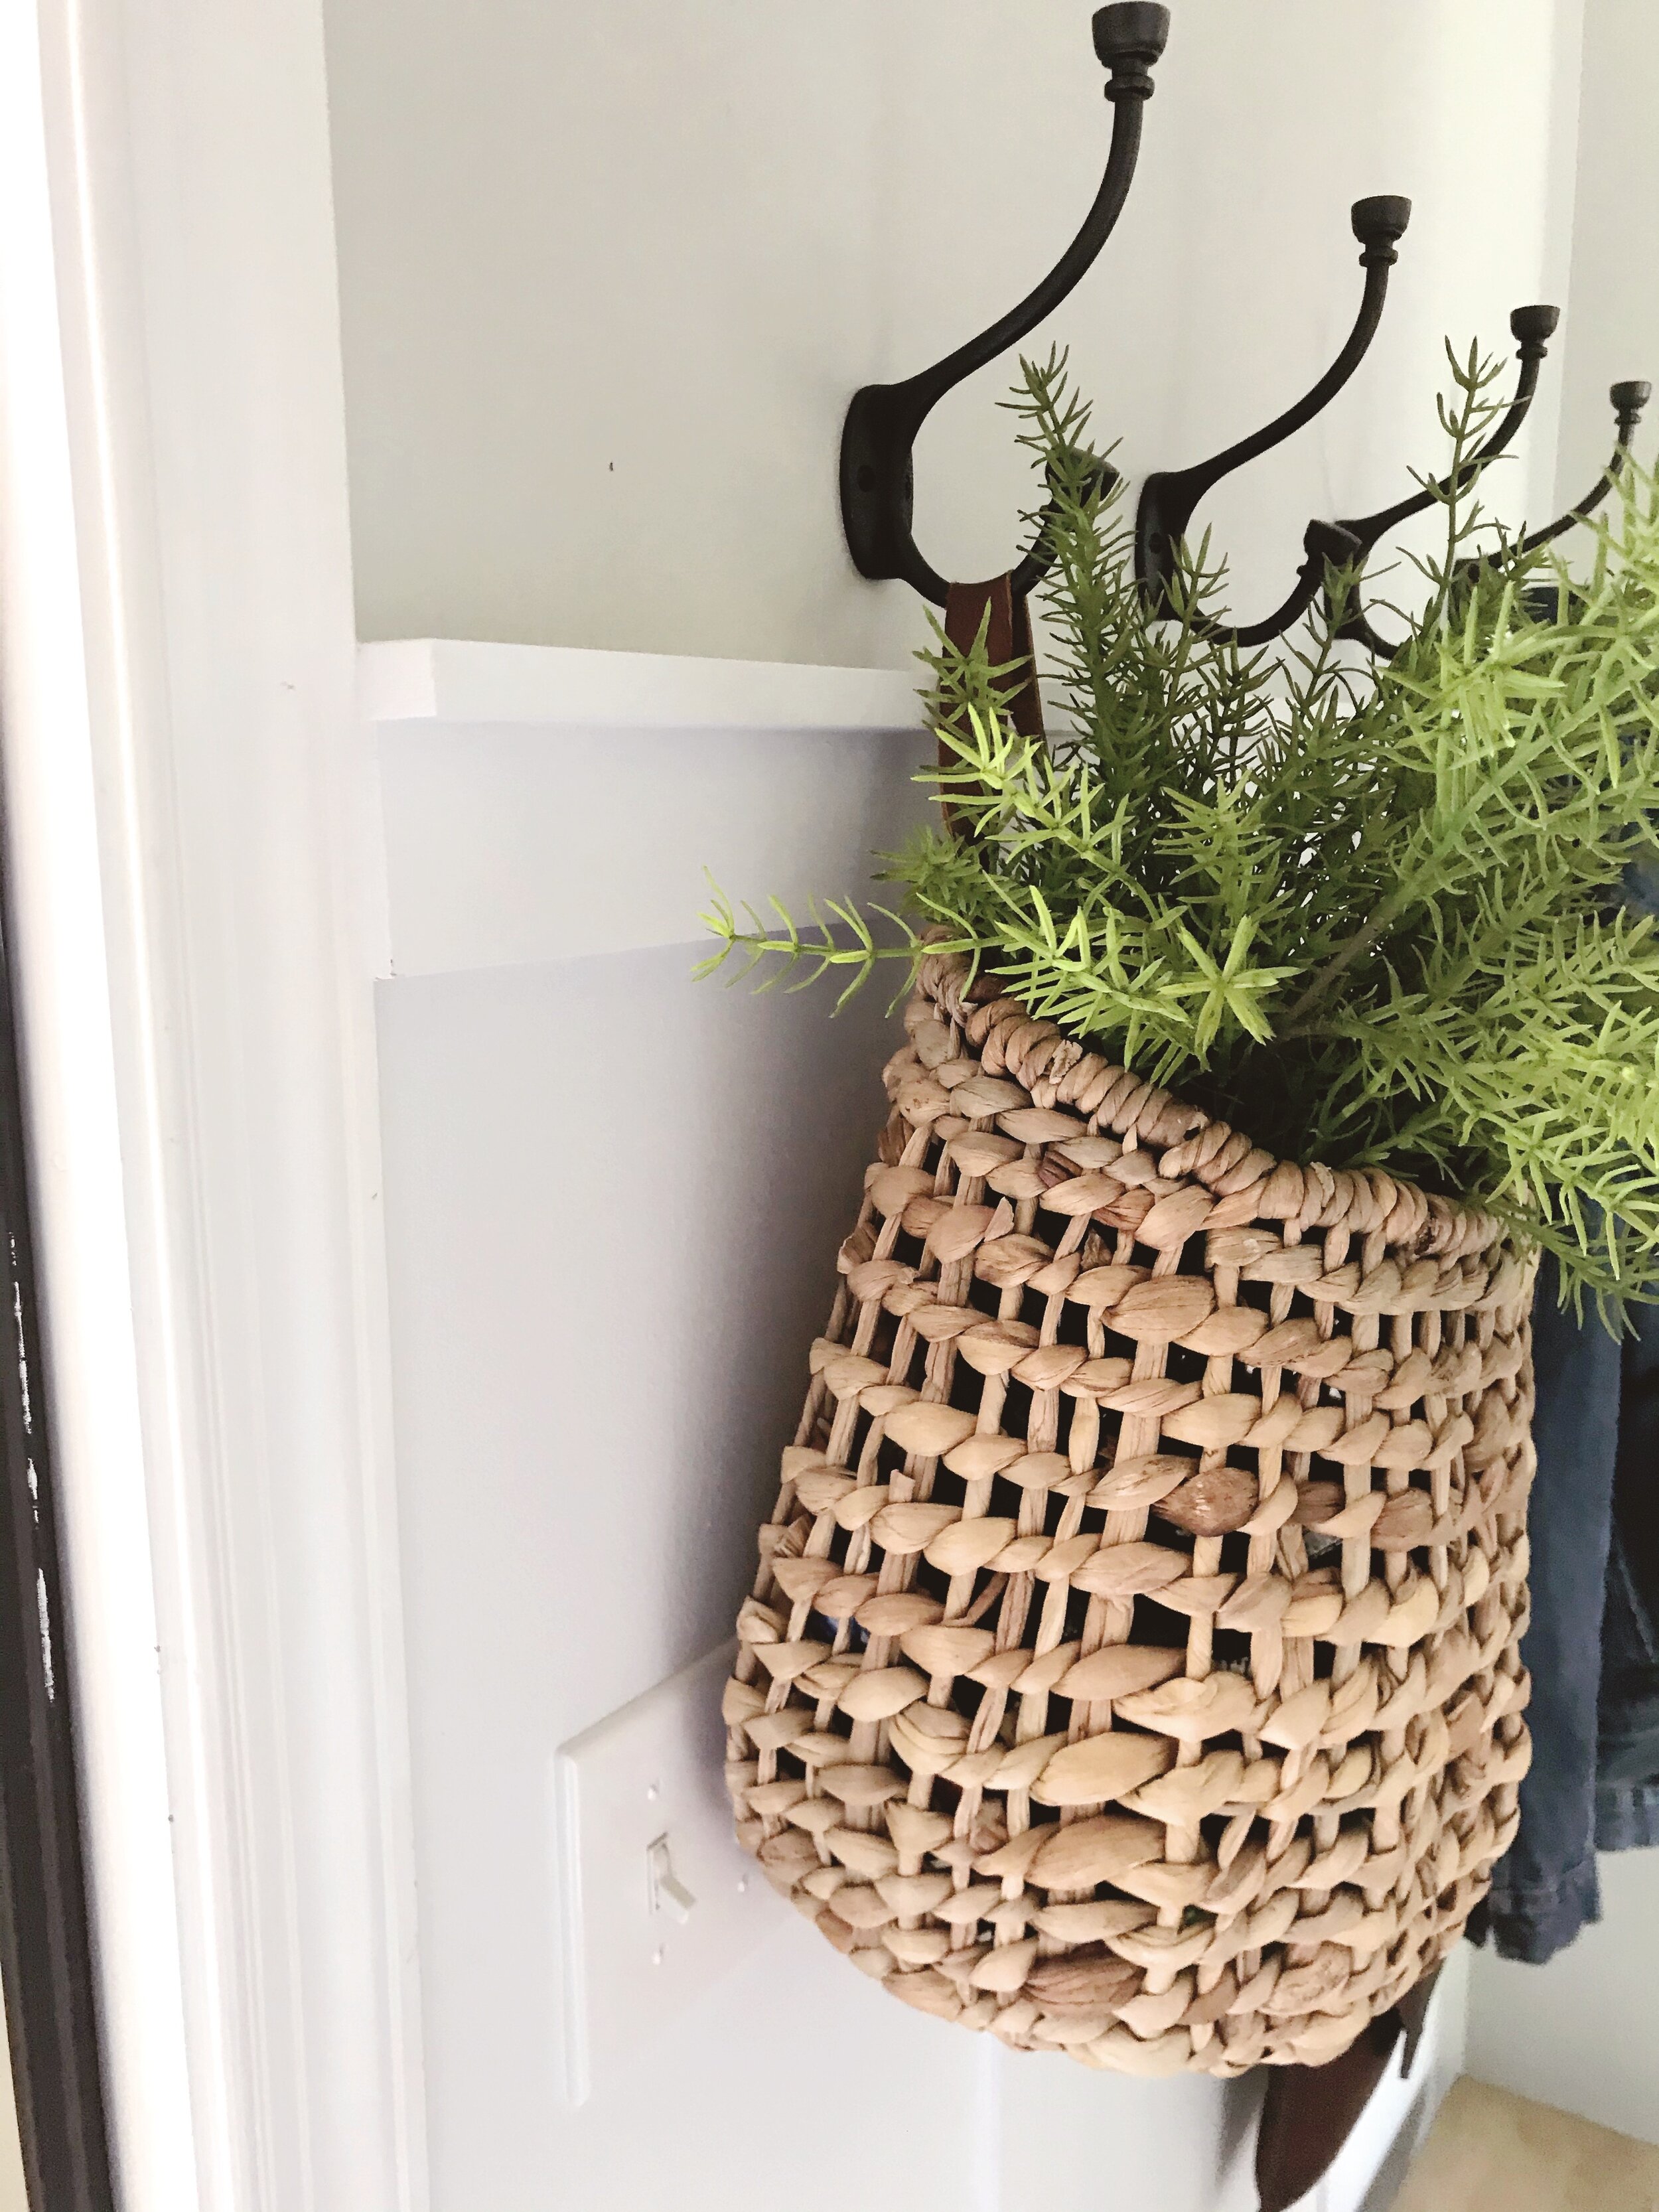
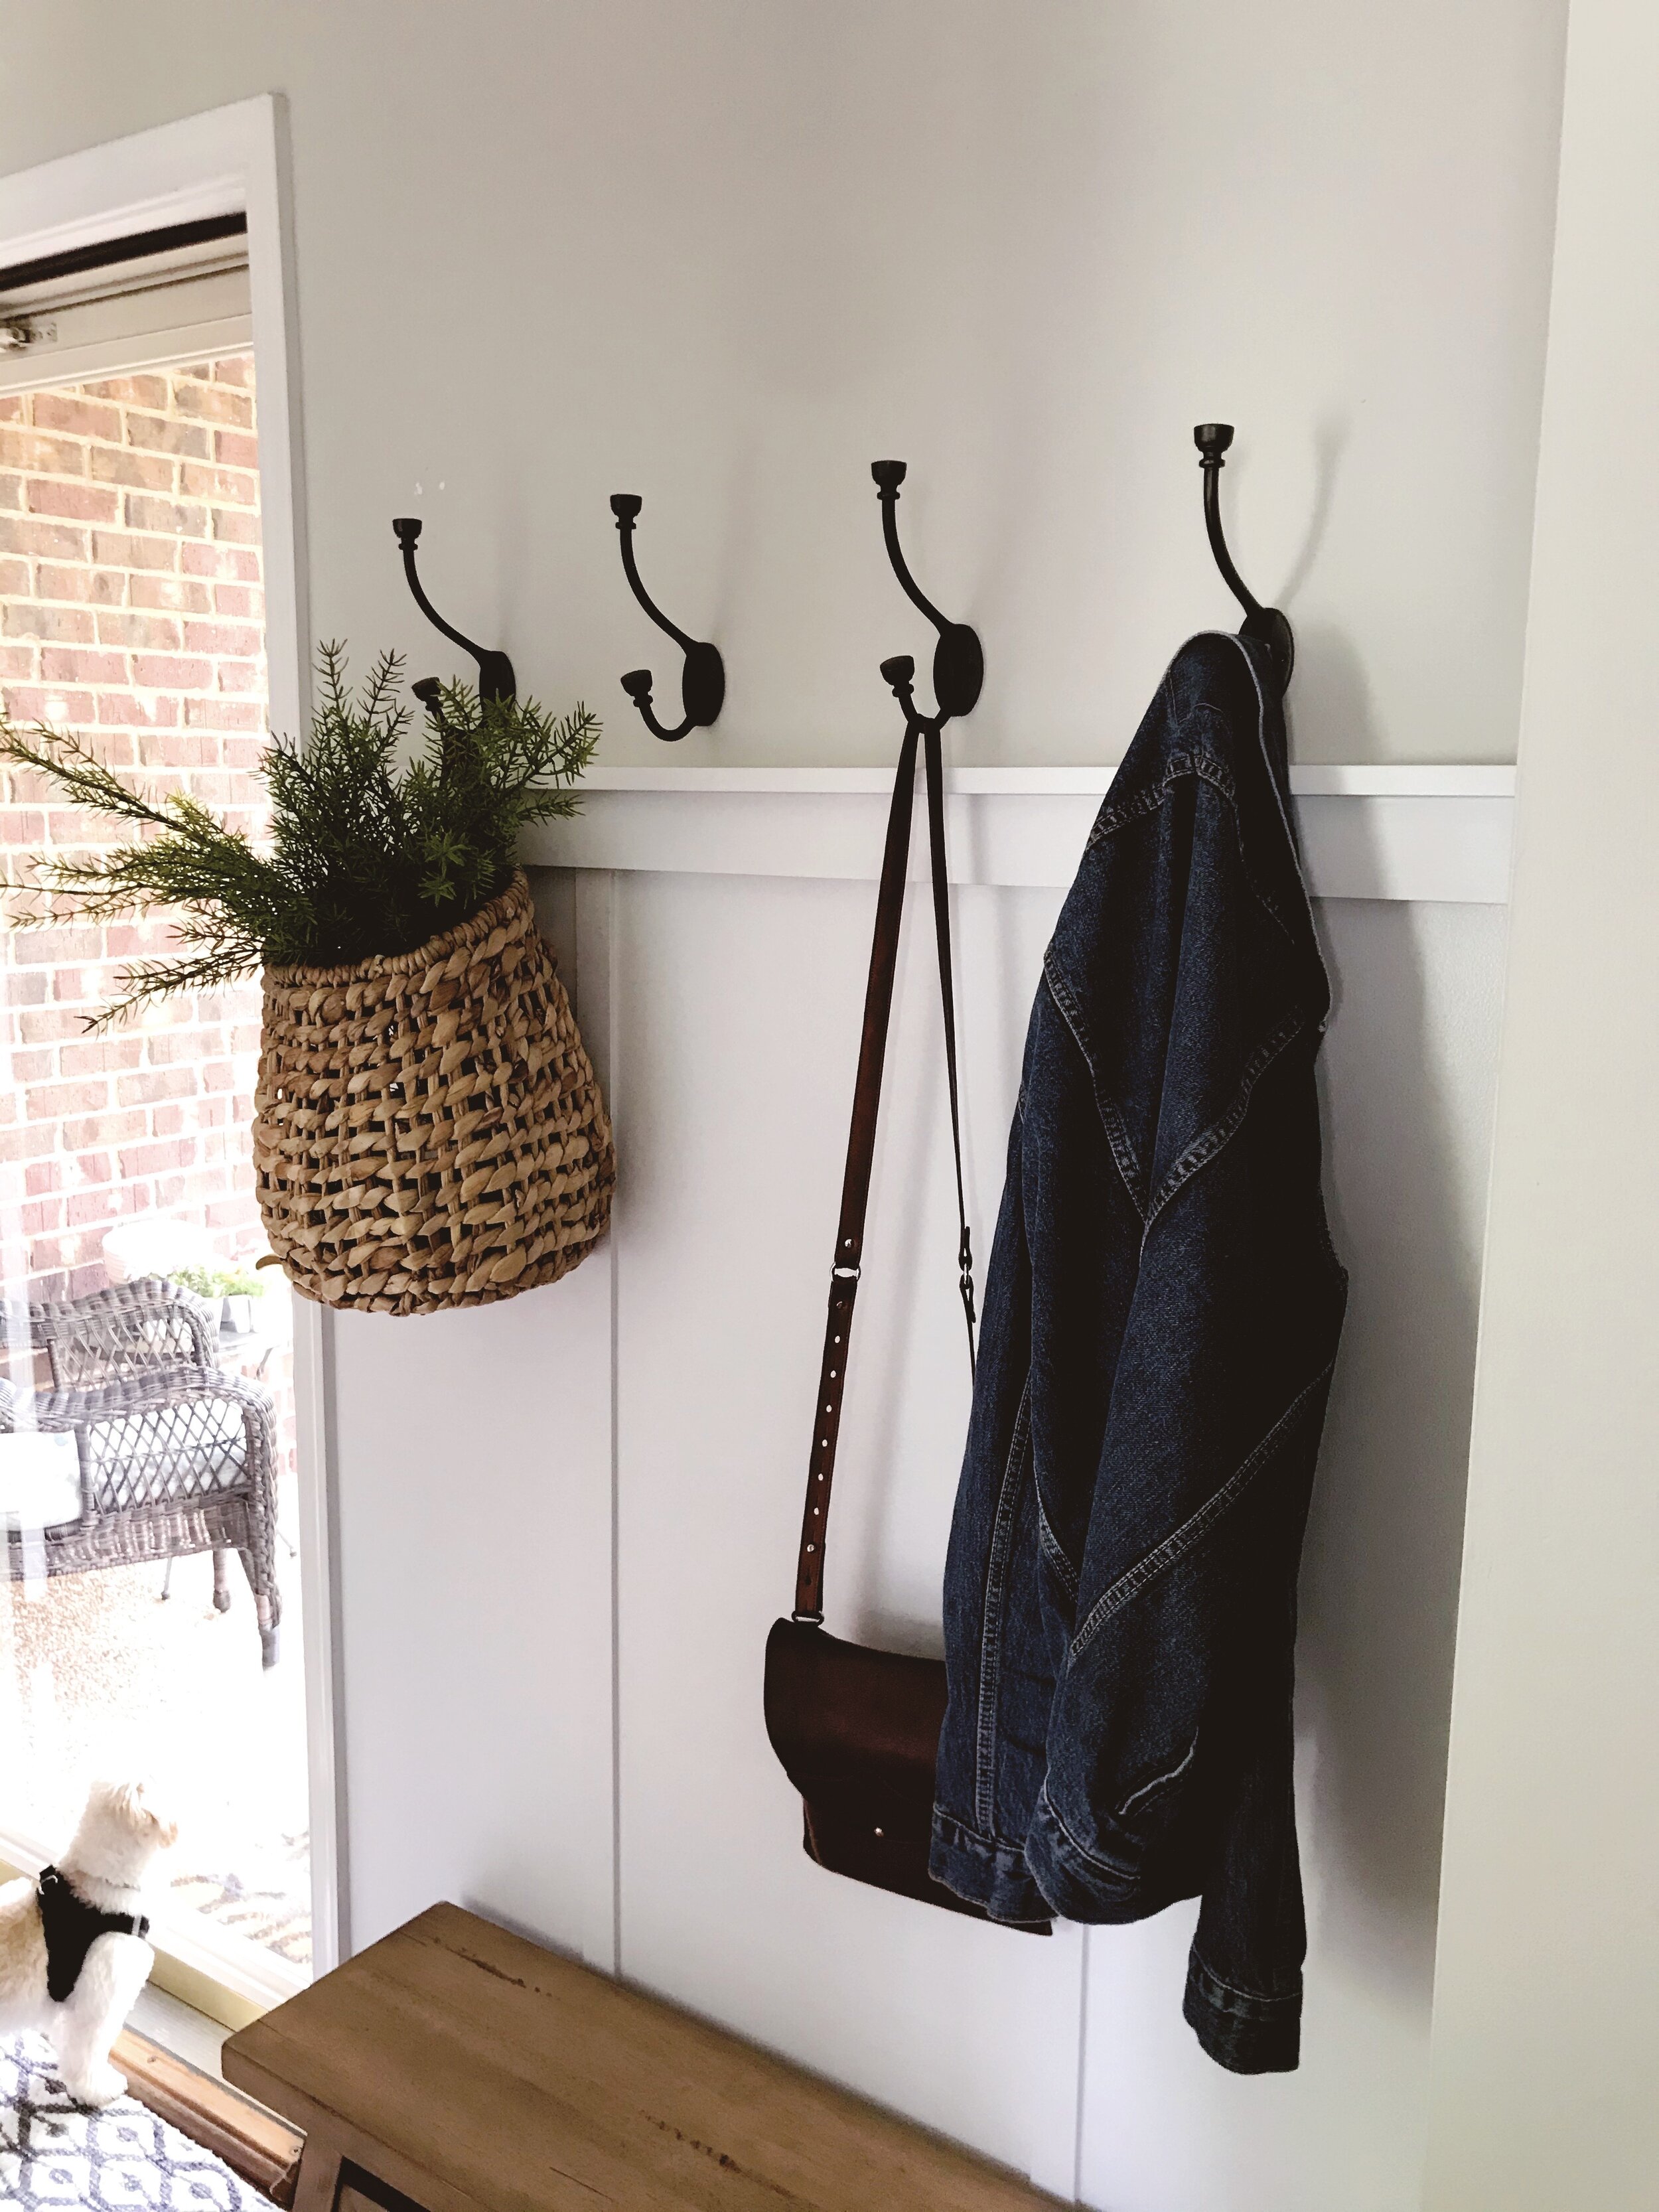
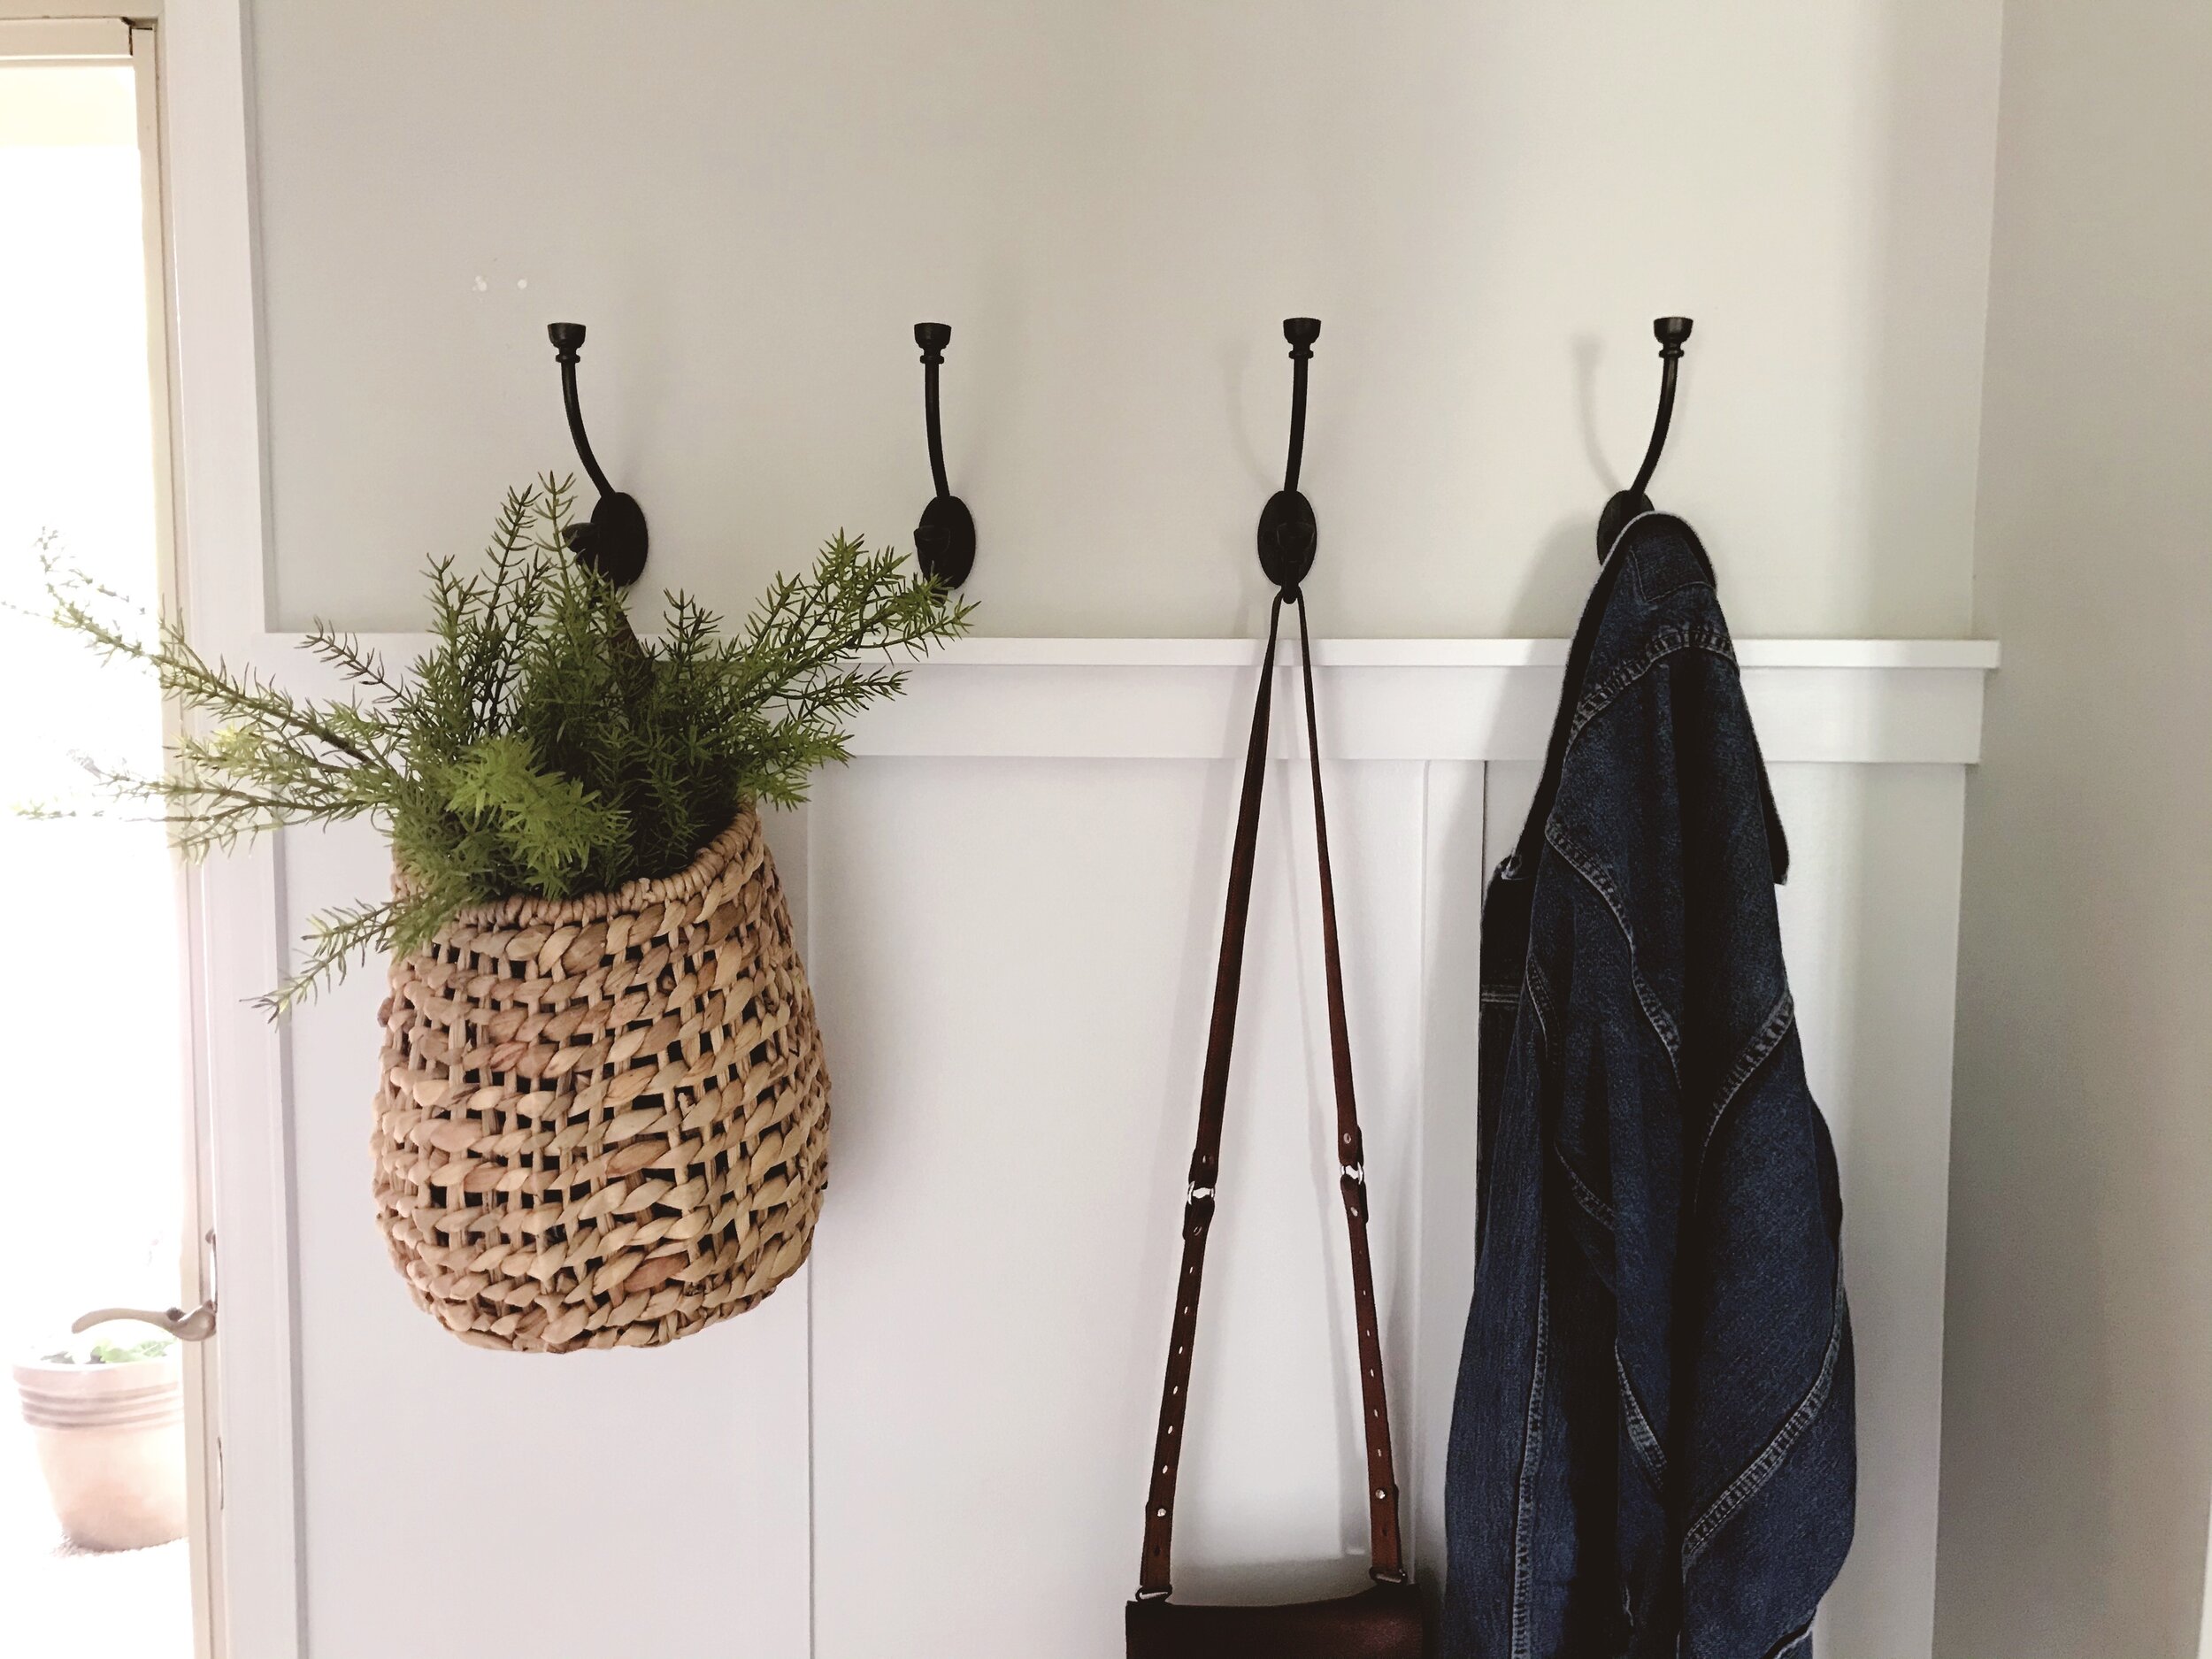
Finally, we finished it off by placing four black Threshold Wall Hooks from Target above the top ledge. This is the part where I thought, “Oh, this is why it’s important to know math.” Getting these spaced perfectly on the wall took some noodling, for sure. I also added the hanging basket from Target to hold our dog Truman’s leash and waste bags (the greenery is just for the photo and unfortunately isn’t permanent. ha!). We literally use the basket every single day. It is so practical!
And that’s it! This project was relatively easy (says the person whose husband did most of the work), and it was a drastic improvement to our entryway. No more coat tree taking up unneccessary space! And I absolutely love the look of it.
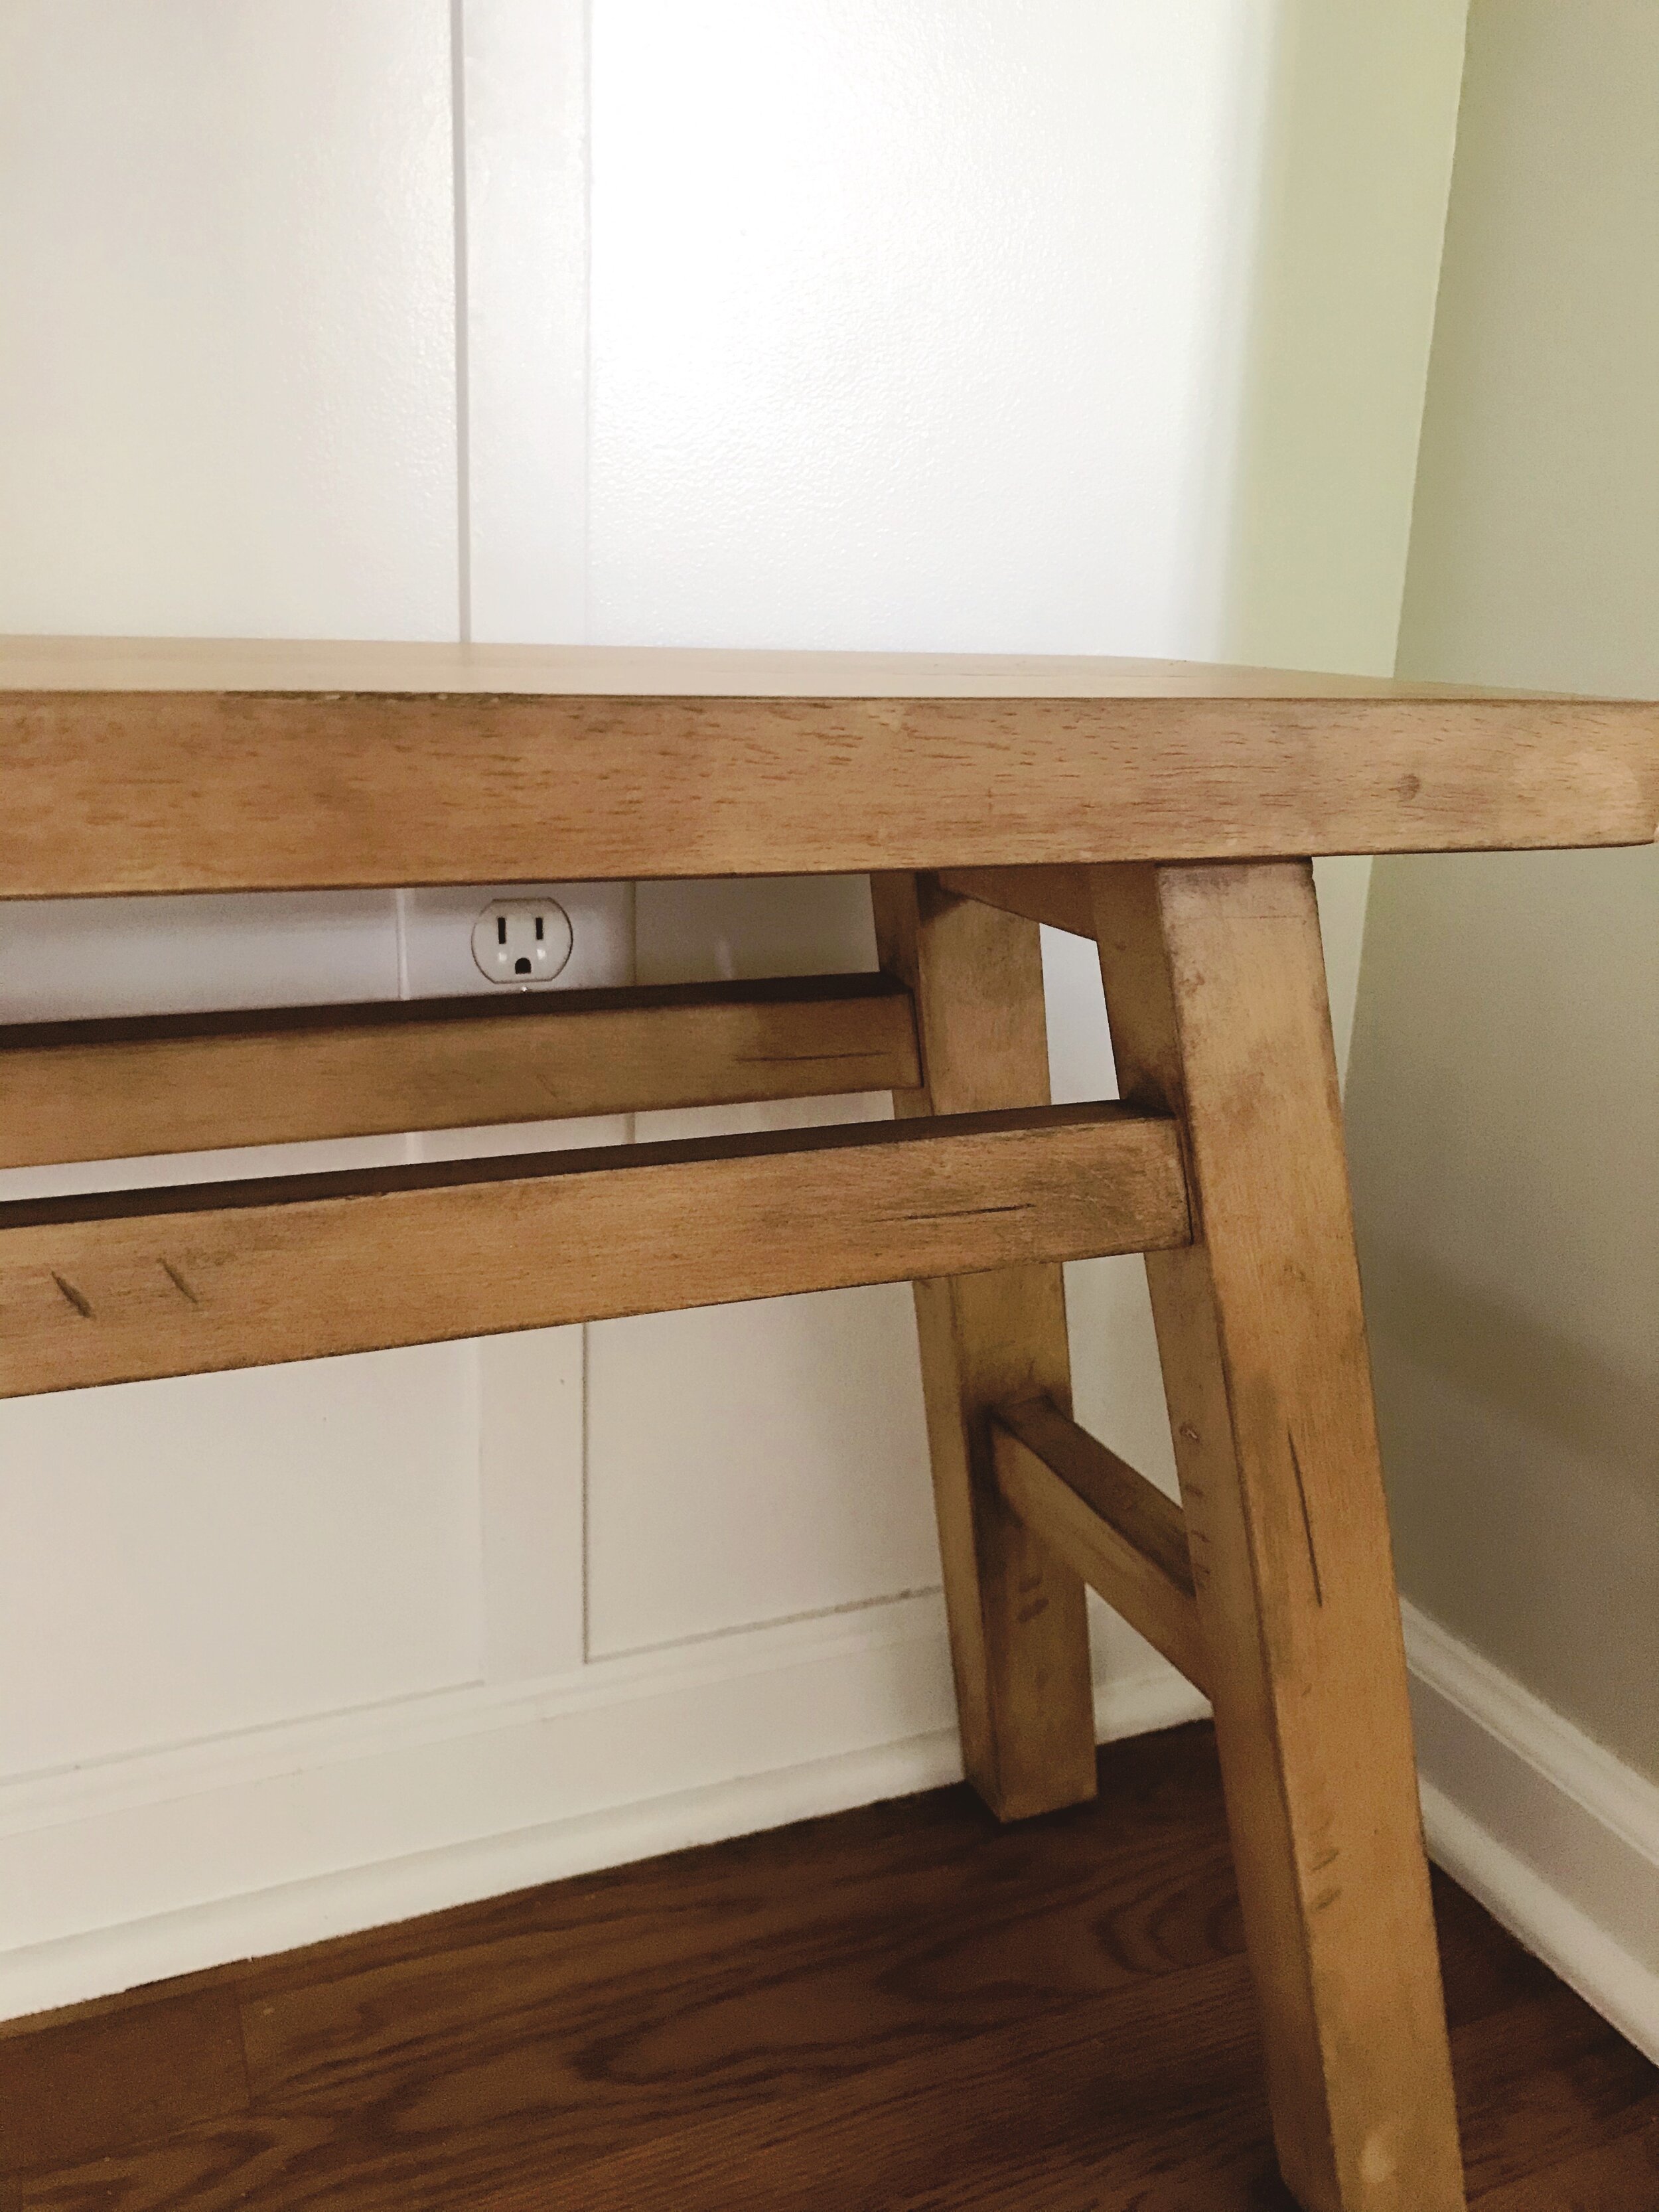
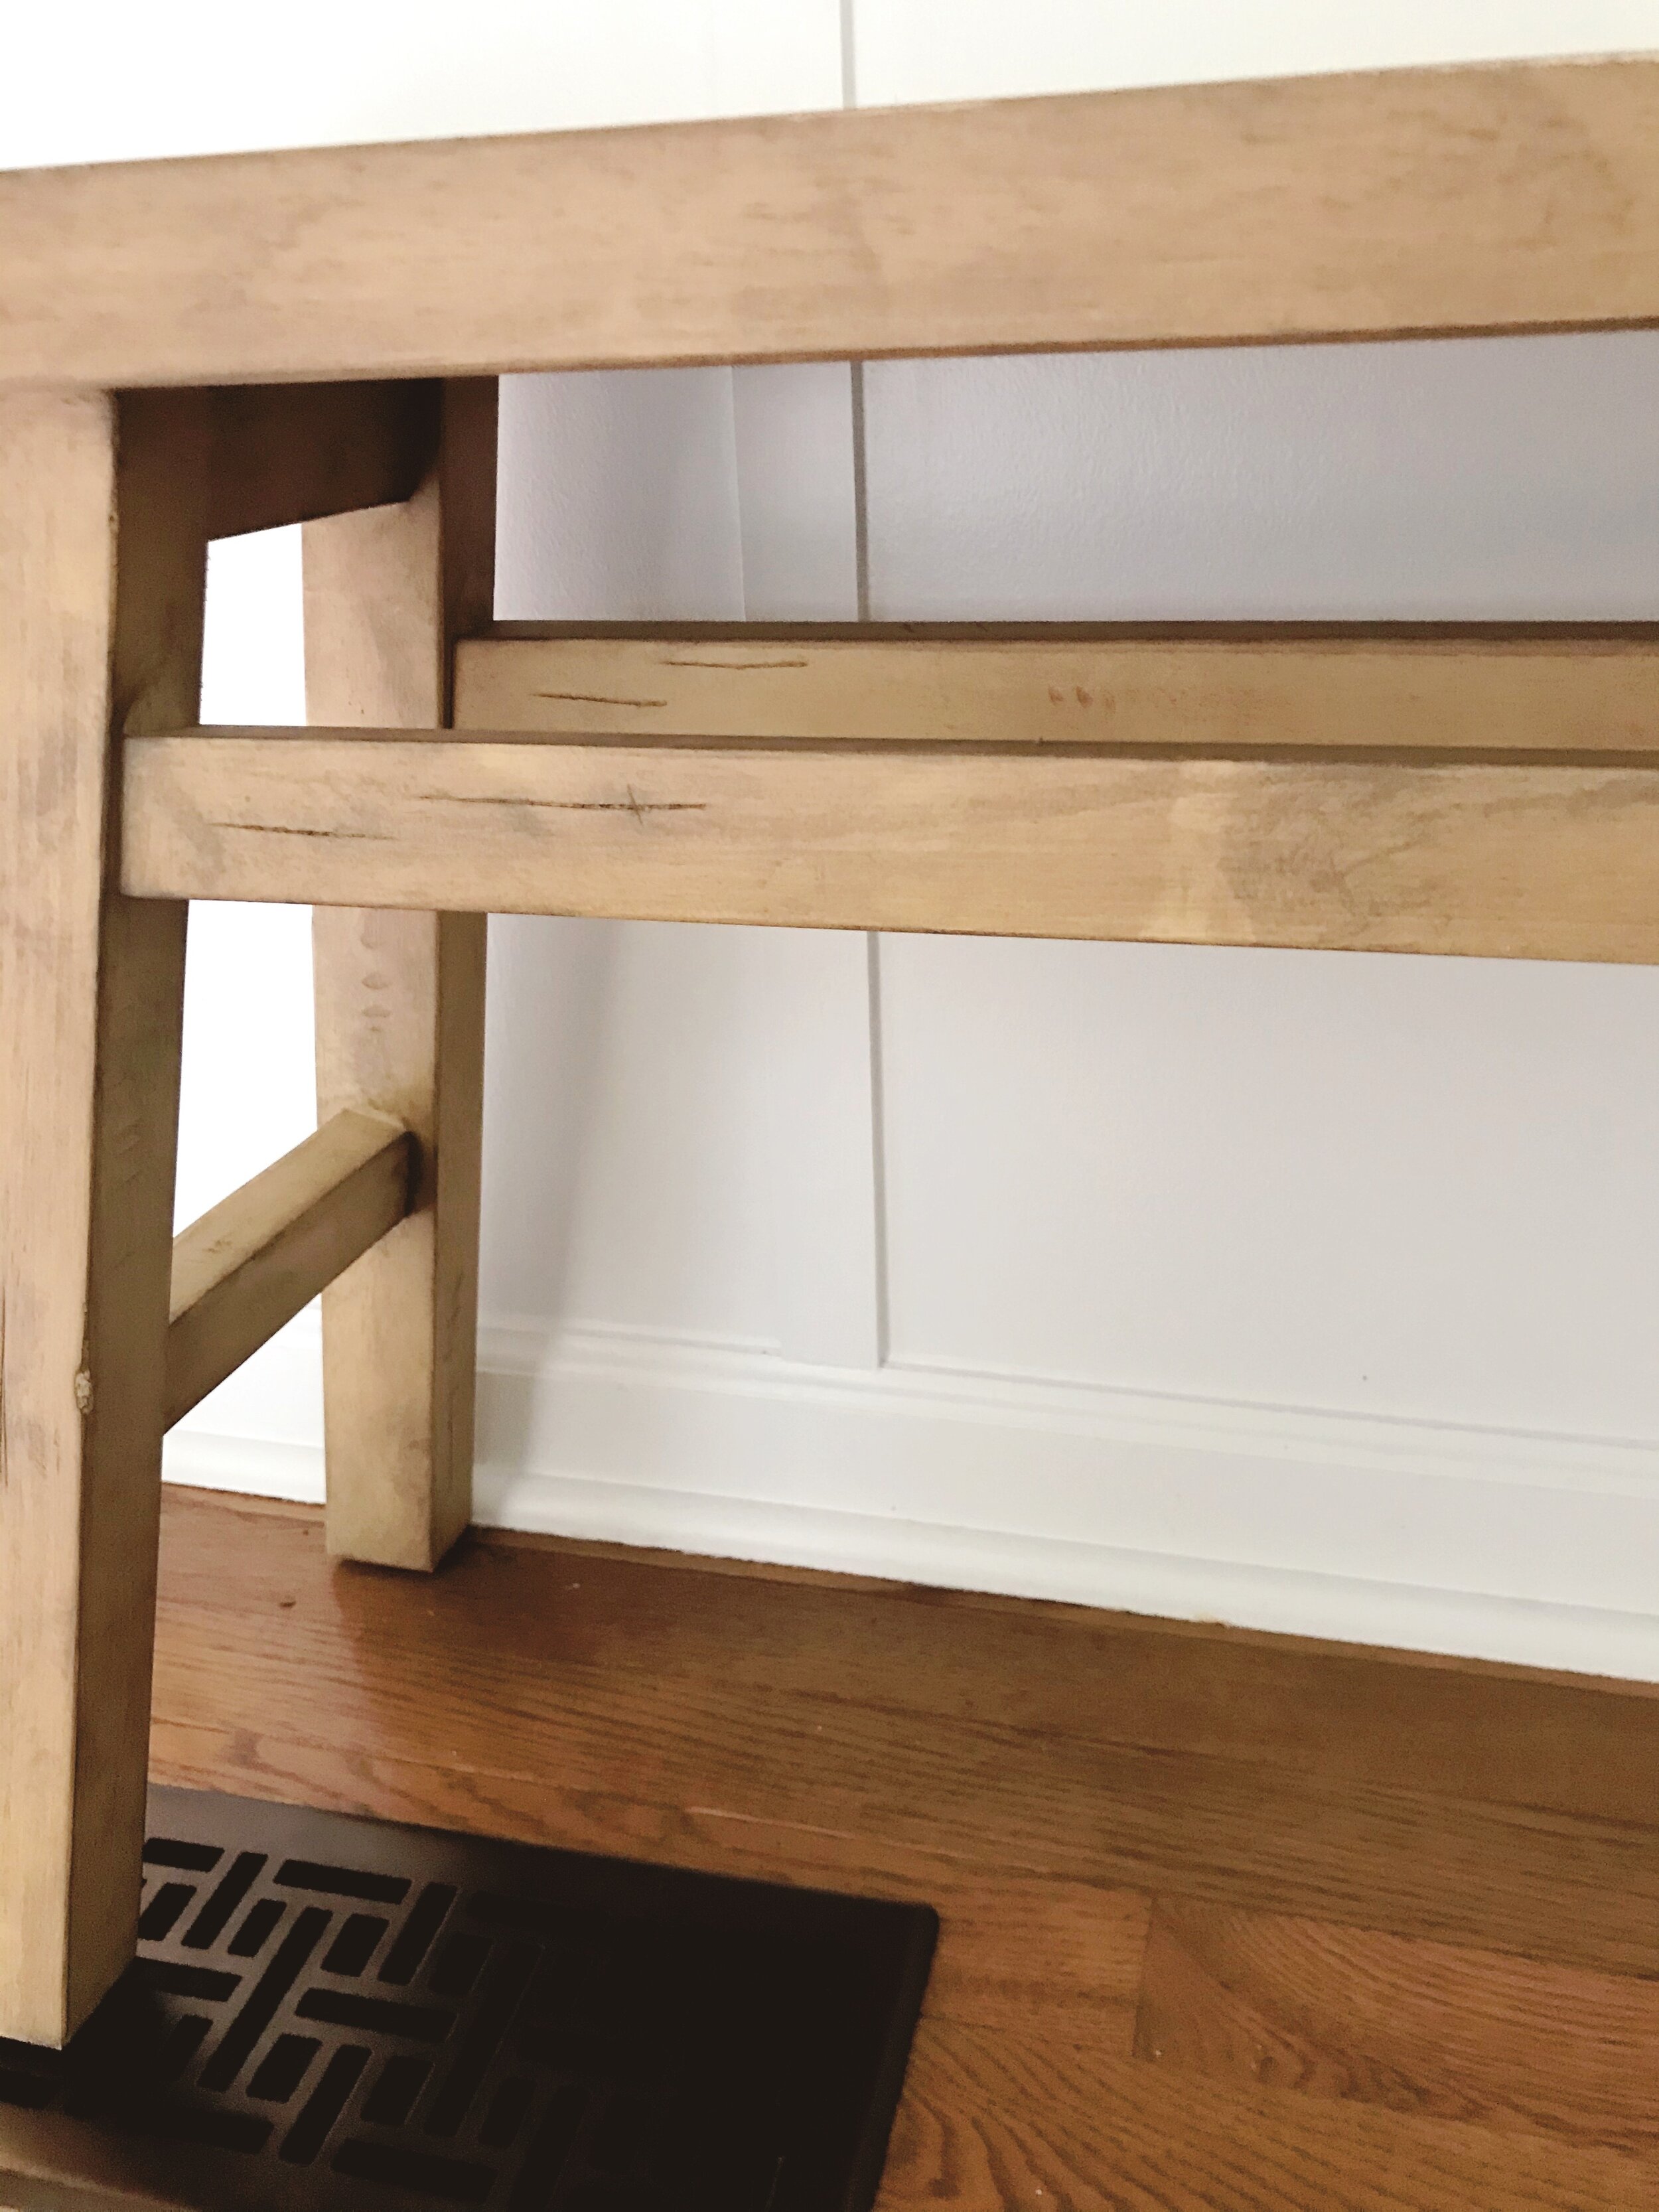
Shari (who dreamed up Cottonwood Styling) and her husband gifted us the beautiful Threshold Studio McGee bench for our nineteenth wedding anniversary! Seriously, the sweetest! It is the perfect spot to sit and tie your shoes!
Of all the home updates we’ve done over the years, this entryway is probably one of my favorites. And honestly, the most expensive part were the wall hooks, which weren’t that pricey at all! And, of course, it doesn’t stay this tidy all the time (okay, almost never), but it does keep the jackets, bags, and shoes a little more contained. And for that, I am so, so happy!
Click through the photos below to see the progress and finished entryway shots!


